Tutorial: Windows Server 2019 Installation
In this guide, I will cover the installation of Microsoft Windows Server 2019 using the evaluation version from Microsoft’s Evaluation Centre.
I will try to explain certain options and provide helpful hints along the way, so rather than just following the guide, you can understand the reasoning behind the decisions. Please have a read of our disclaimer before proceeding further.
Every attempt has been made to ensure this guide is as accurate as possible, but please contact me to let me know if you find any errors.
I have tried to cover the vast majority of scenarios users will come across whilst installing this operating system.
Step 1
You can download the ISO for Windows Server 2019 using several methods. The recommended route is to use Microsoft’s Evaluation Centre, by navigating to their webpage and following the instructions provided.
This edition gives you 180 days to evaluate Windows Server 2019 before purchasing any licenses.
Step 2
Select ISO from the start your evaluation webpage and click on continue. Complete your details and then click on continue to get the download link.
Step 3:
Once you have finished downloading the relevant ISO image, burn it to a DVD using your preferred disc burning software. You can skip this step if you will be using this image to setup Windows Server 2019 as a virtual machine.
Step 4
Before you go any further, ensure all important data is backed up in case of data loss on your drives. This guide assumes you have media backups of your hard drives and you are safe to proceed.
Ensure you have a network cable connected, restart your computer, and boot from the DVD drive.
Step 5
The DVD will begin to load up, and you’ll be presented by the following screen as the installer starts.

Choose the correct installation language, time and currency format and keyboard language then click on next to continue.
Step 6
Once loaded you will see the following screen.
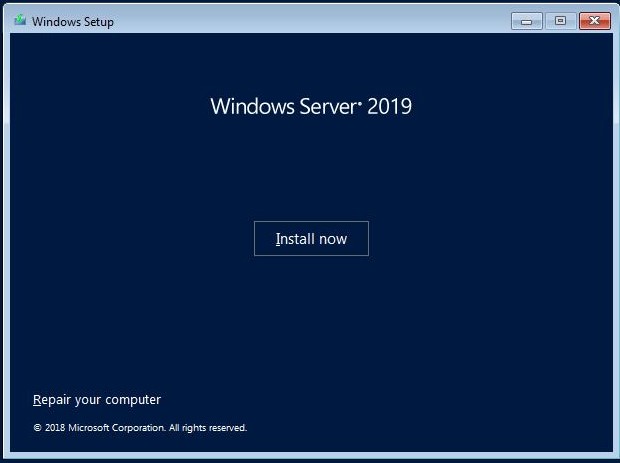
Click “Install now” to begin installing Windows Server 2019.
Step 7
The next screen will load, ready for you to choose which edition of Windows Server 2019 you wish to install.
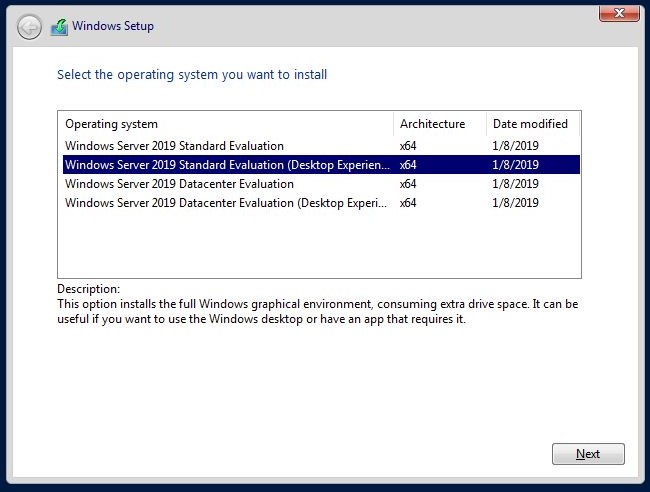
Choose the version you wish to install. This guide uses Windows Server 2019 Standard Evaluation (Desktop Experience).
Please note that the Windows Desktop GUI is only installed if you select the correct edition with Desktop Experience.
Click next to continue to the next step of installation.
Highlight the correct option and choose next to continue.
Step 8
Before you can proceed with the setup any further you’re required to accept Microsoft’s license terms, as below.

Read the terms, tick the “I accept the license terms” box and click next to continue to the next step.
Step 9
The next phase of the installation covers whether this is an upgrade to an existing operating system or a custom version, such as installing the operating system on a new hard drive.
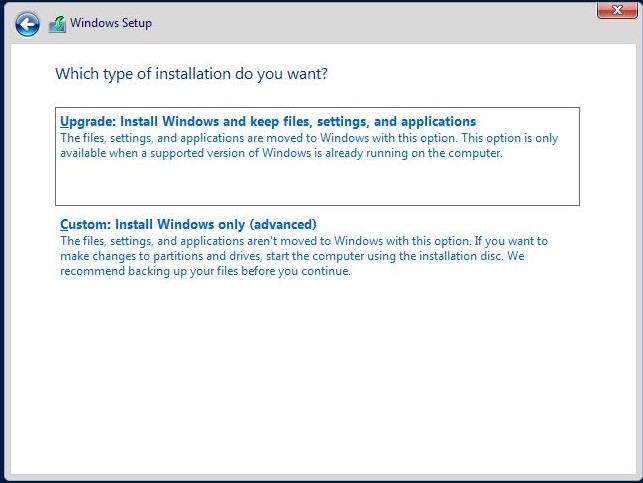
For the purposes of this guide, we’ll assume you are performing a fresh installation of Windows Server 2019. Therefore, this tutorial covers the “Custom” option which will install a fresh copy of Windows Server 2019 onto a clean hard drive, without backing up and restoring any existing files or settings.
The first option, “upgrade” will allow those running previous versions of Windows Server (see support list) to upgrade to Windows Server 2019 whilst retaining all files, settings and applications.
Step 10
The setup will then continue and start the disk manager as below.
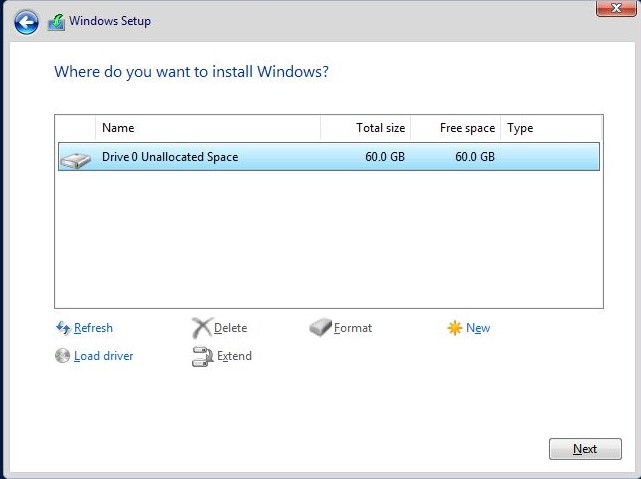
Select the correct drive to use for the installation of Windows Server 2019, and click next to continue. I recommend you use a minimum of 40GB of the hard drive.
Once you click next, the changes will be writing to the hard drive, removing any previous data. Please ensure you have backups of any data before proceeding.
Step 11
The installation will then begin.

It will take some time to complete all the steps, so make yourself a drink and sit back while Windows Server 2019 is installed.
Once complete, your computer will restart.
Step 12
Windows Server 2019 will then begin loading up.
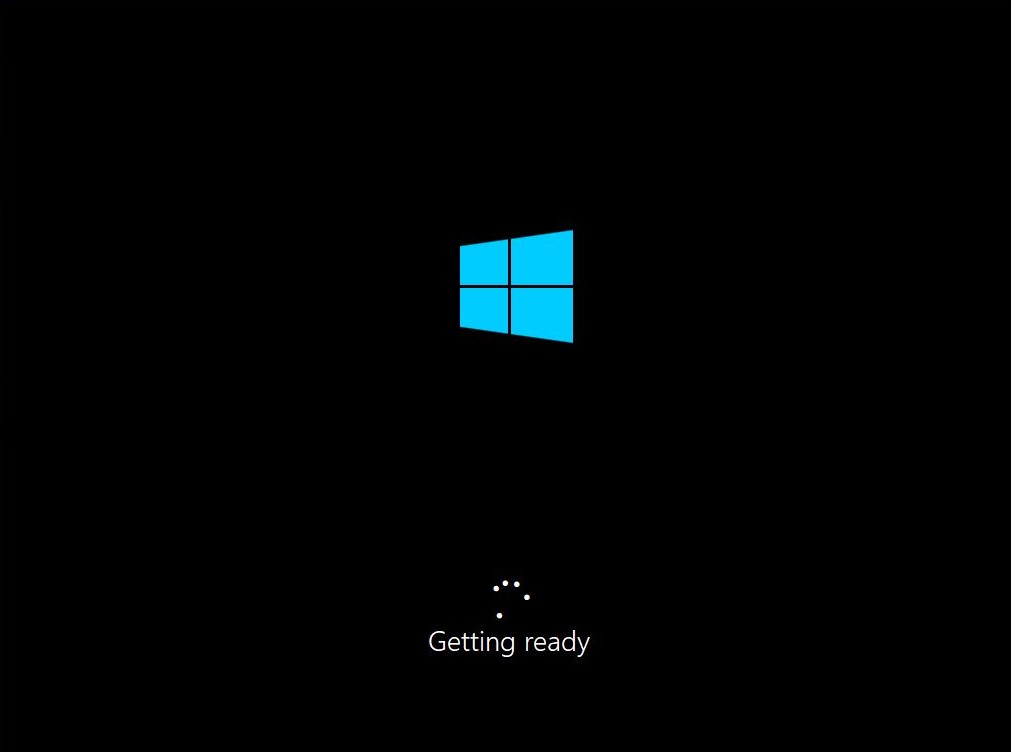
The computer may restart several times during this process.
Step 13
Once configured, the installer will ask you to create an administrator password.

Type your password and then click finish. You’ll then be presented with the login screen.
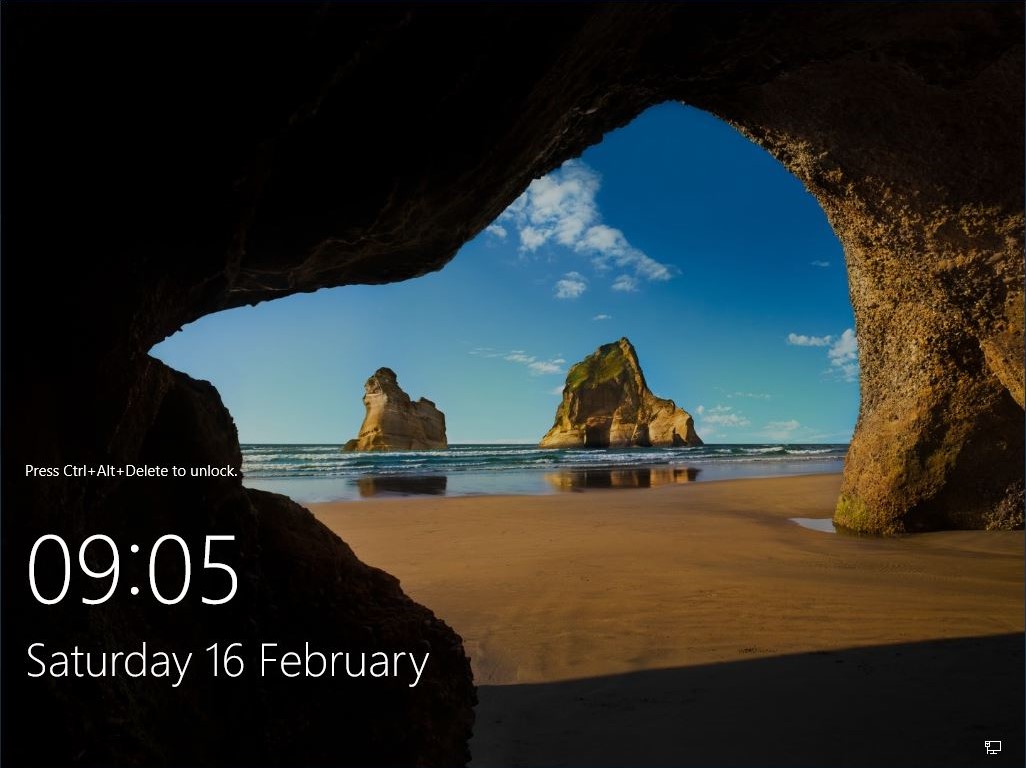
Press CTRL + ALT + DEL and enter the administrator password to login.
Step 14
The desktop will then load up. Installation is now complete.
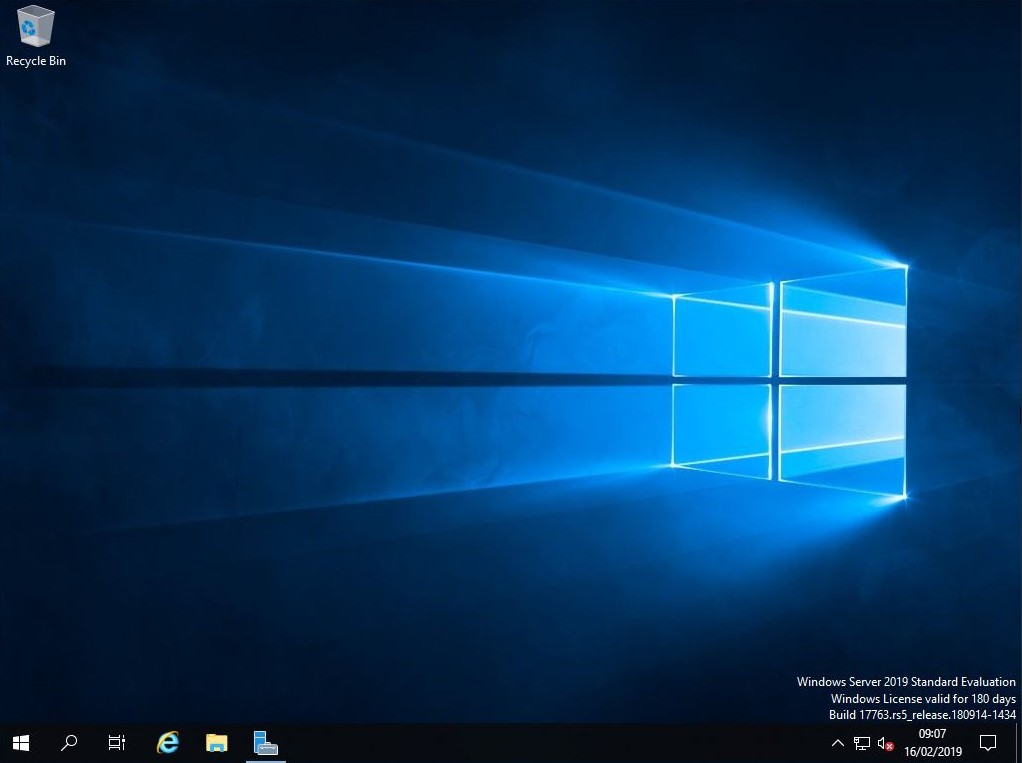
Installation is now complete, and you can enjoy your new OS and begin exploring its features.
Step 15
Before installing any software or configuring any services I recommend you check for and install any updates.
Click on start, then click on the cog, to open Settings.
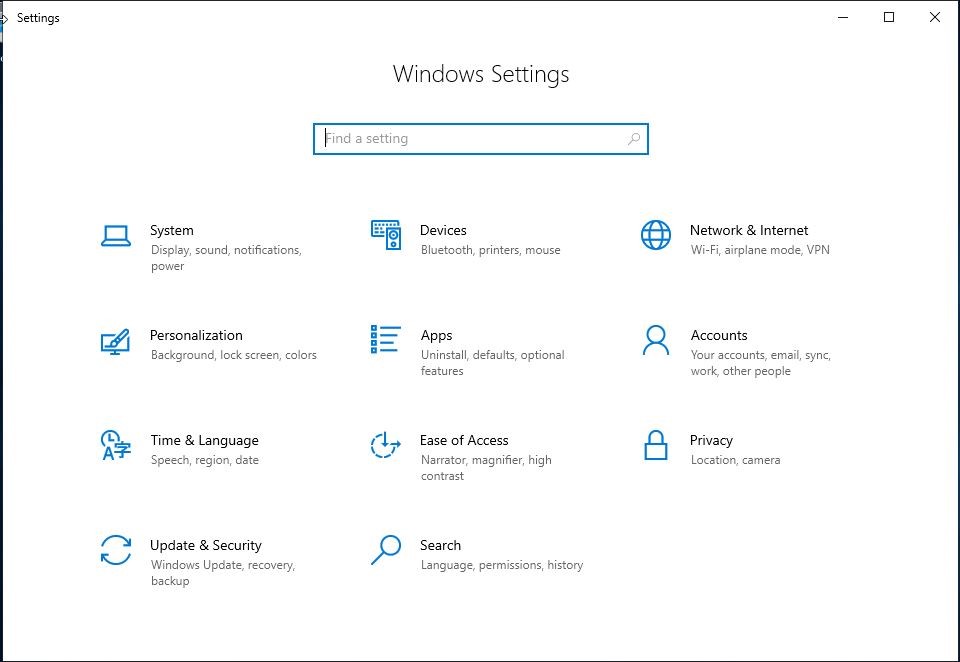
Click on Update & Settings and then click on check for updates.
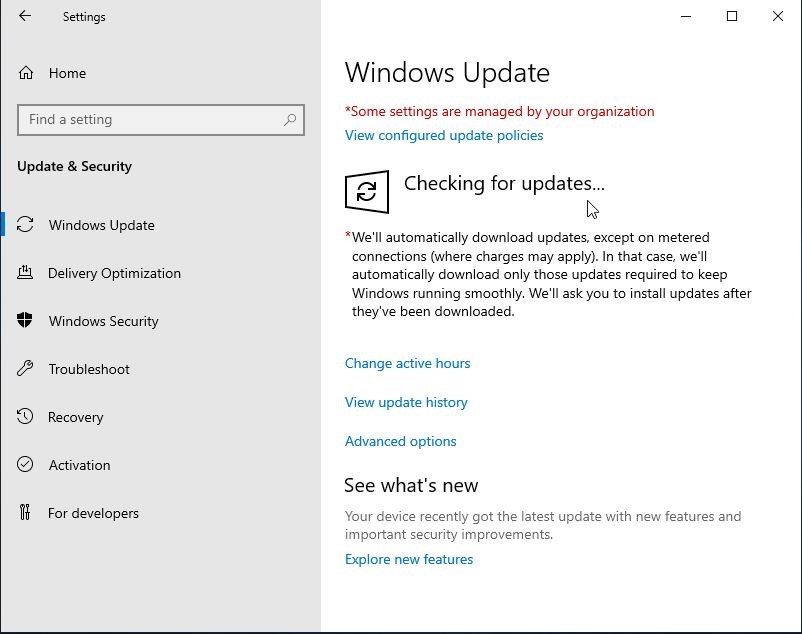
This will then download and install any updates. You may be asked to restart your computer multiple times. I recommend you complete this until no further updates are found.
Feedback and comments are welcome. If you feel something is missing or you would like to see something in particular covered in future tutorials let us know in the comments section, or contact me directly.