Tutorial: Ubuntu 16.04 Linux Installation
In this step-by-step tutorial, I will cover Ubuntu 16.04 installation Desktop Linux 32-bit edition, starting with the download of Ubuntu’s Desktop installation image. The installation of other ‘buntu versions including 64-bit will be very similar to this guide. I will try to explain certain options and provide helpful hints along the way, so rather than just following the guide, you can understand the reasoning behind the decisions.
If there are any mistakes please draw our attention to them and we will correct as needed. We have tried to make this as simple as possible, whilst covering the vast majority of scenarios users will come across whilst installing this operating system.
Step 1
The first thing you should do is head to the Ubuntu download page and download the Ubuntu 16.04 installation image by clicking the big orange download box on the webpage.
Step 2
Using your disc burning software, burn the .iso you downloaded to a DVD.
Step 3
Before you go any further, ensure all important data is backed up in case of data loss on your drives. This guide assumes you have media backups of your hard drives and you are safe to proceed.
Warning: installing another operating system without first ensuring you have backups of your current files and operating system is a big risk. If you have no data to lose or you’ve backed up important data, you’re ready to proceed. YOU are responsible if you lose data.
Those of you using Windows and installing Linux for the first time I recommend you either use a separate hard disk not used with Windows or create a partition big enough for Linux within Windows, by using the Disk Management utility in the Administrative Tools menu of the control panel. 20GB of hard disk space is plenty of space for you to begin exploring Ubuntu Linux whilst at the same time having room to grow.
Info: I accept no liability or responsibility for any errors or damage to your computer during, or after installing Linux. It is up to the user to ensure proper backups are made of important documents and files and this tutorial assumes these have already been completed and verified.
Step 4:
Ensure you have a network cable connected, restart your computer, and boot from the DVD drive.
Step 5:
The Live Desktop will load up, and you’ll be presented with the following box:
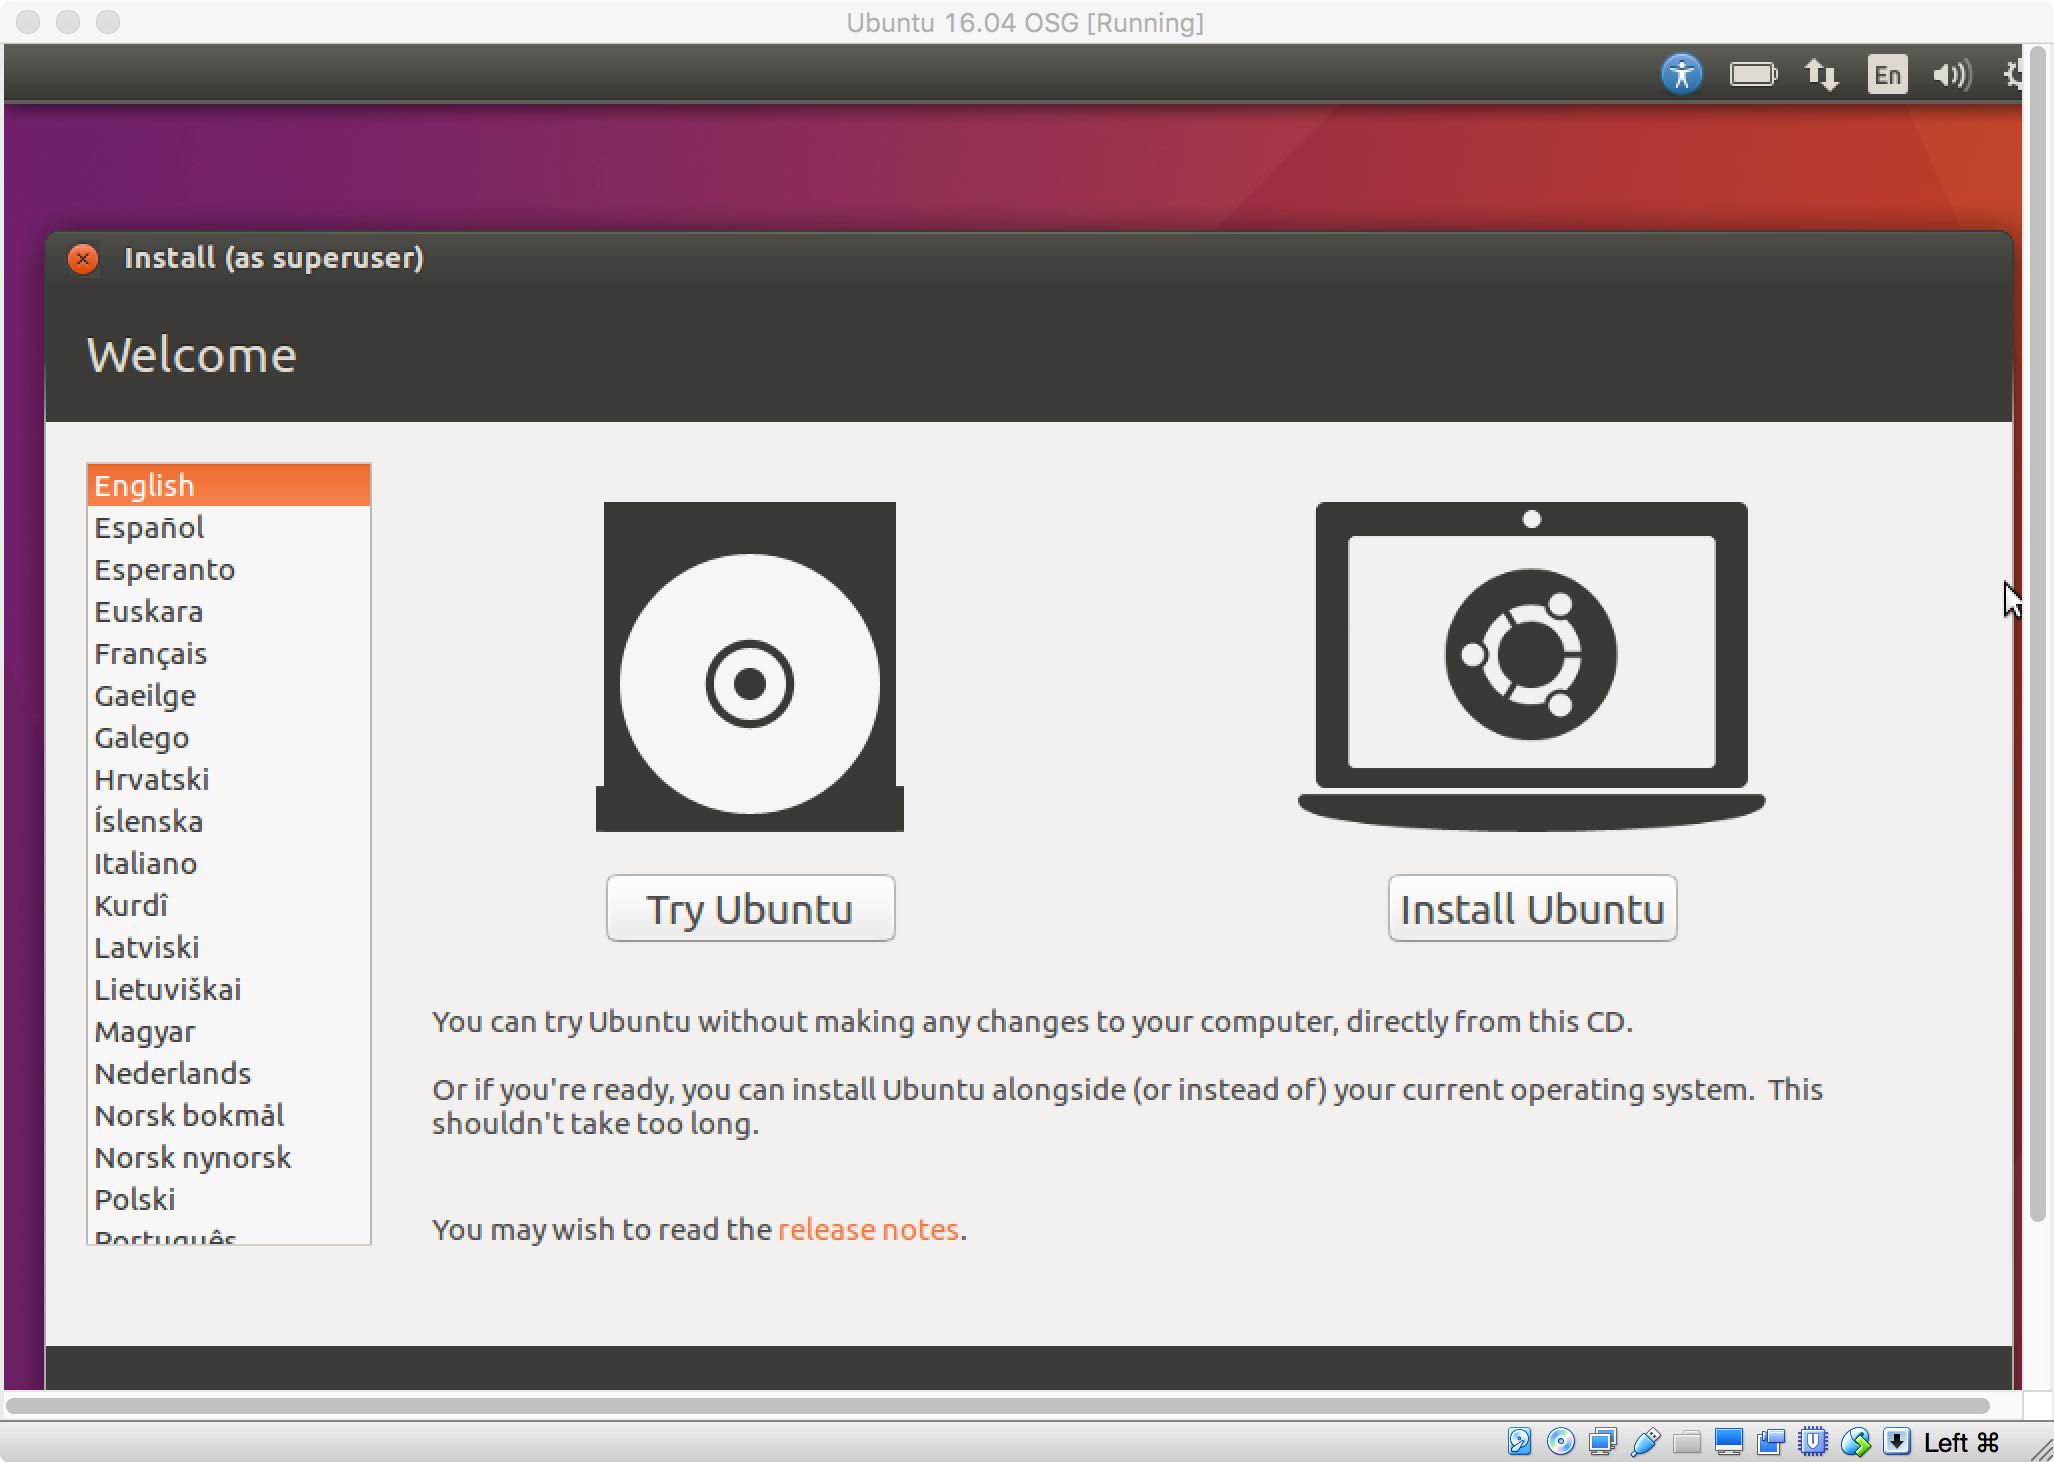
For this guide, we will assume you’ve already tried Ubuntu and want to proceed with the Ubuntu 16.04 installation, so click “Install Ubuntu.”
Step 6:
You’ll be greeted by the “Preparing to install Ubuntu” screen, exactly as below:
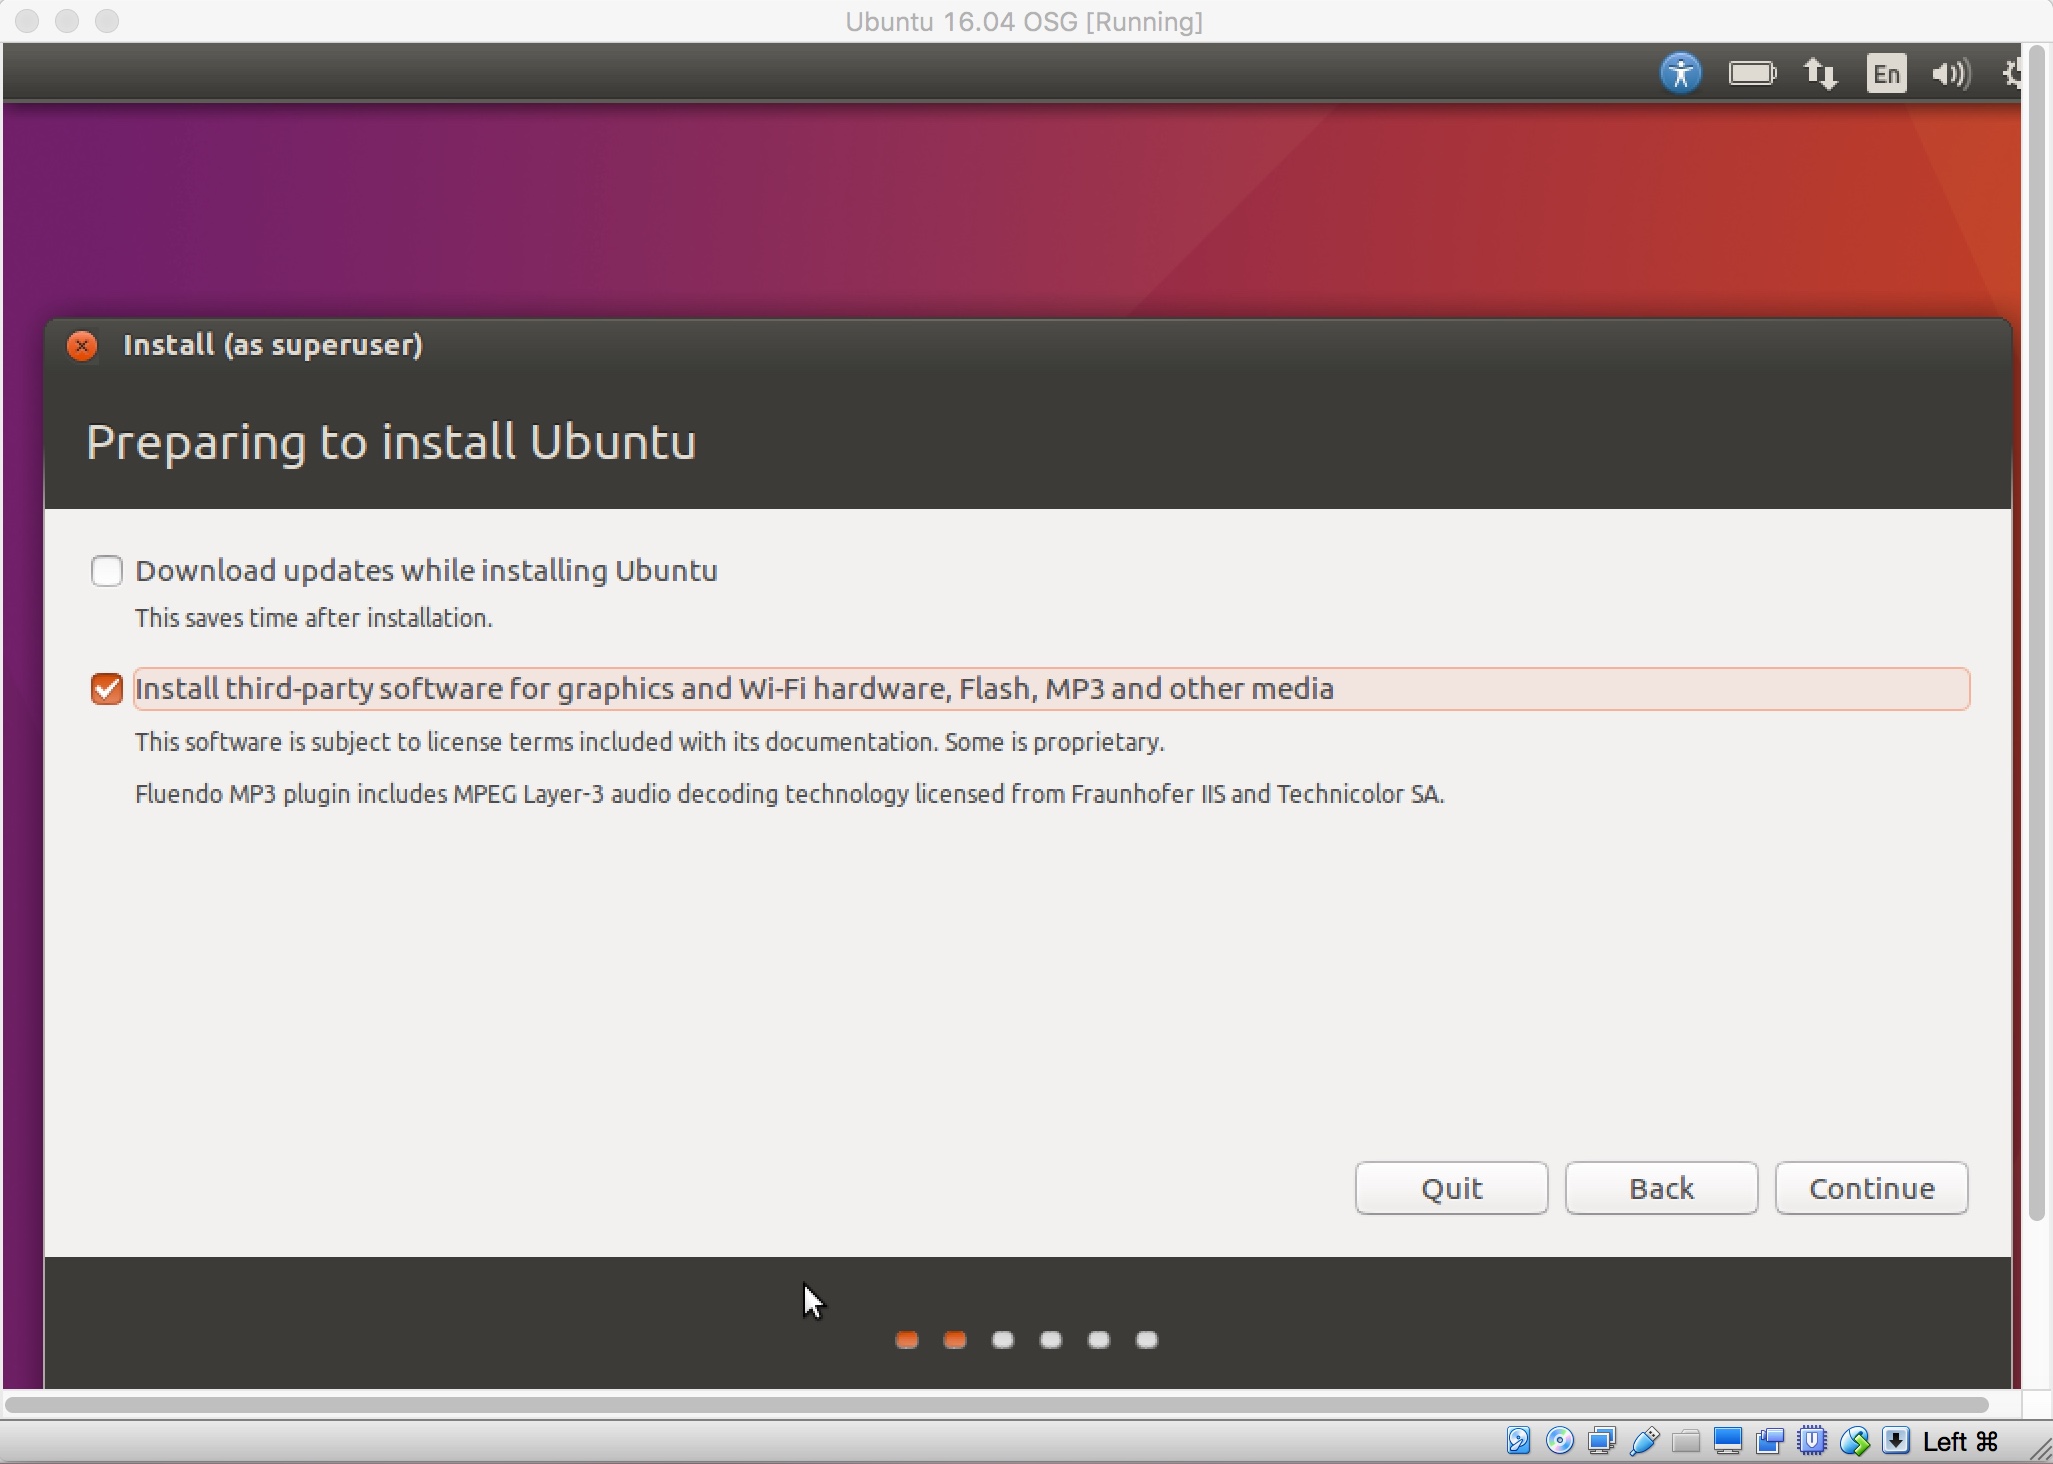
I recommend you select “Install third-party software” as I have done in the screenshot above. I prefer to do system updates once up and running, but if you have the extra time you can also select “Download updates while installing” as well. Then click continue.
Step 7:
The next screen you will see is “installation type,” what you see will be dependent on whether you have an existing Windows installation or not.
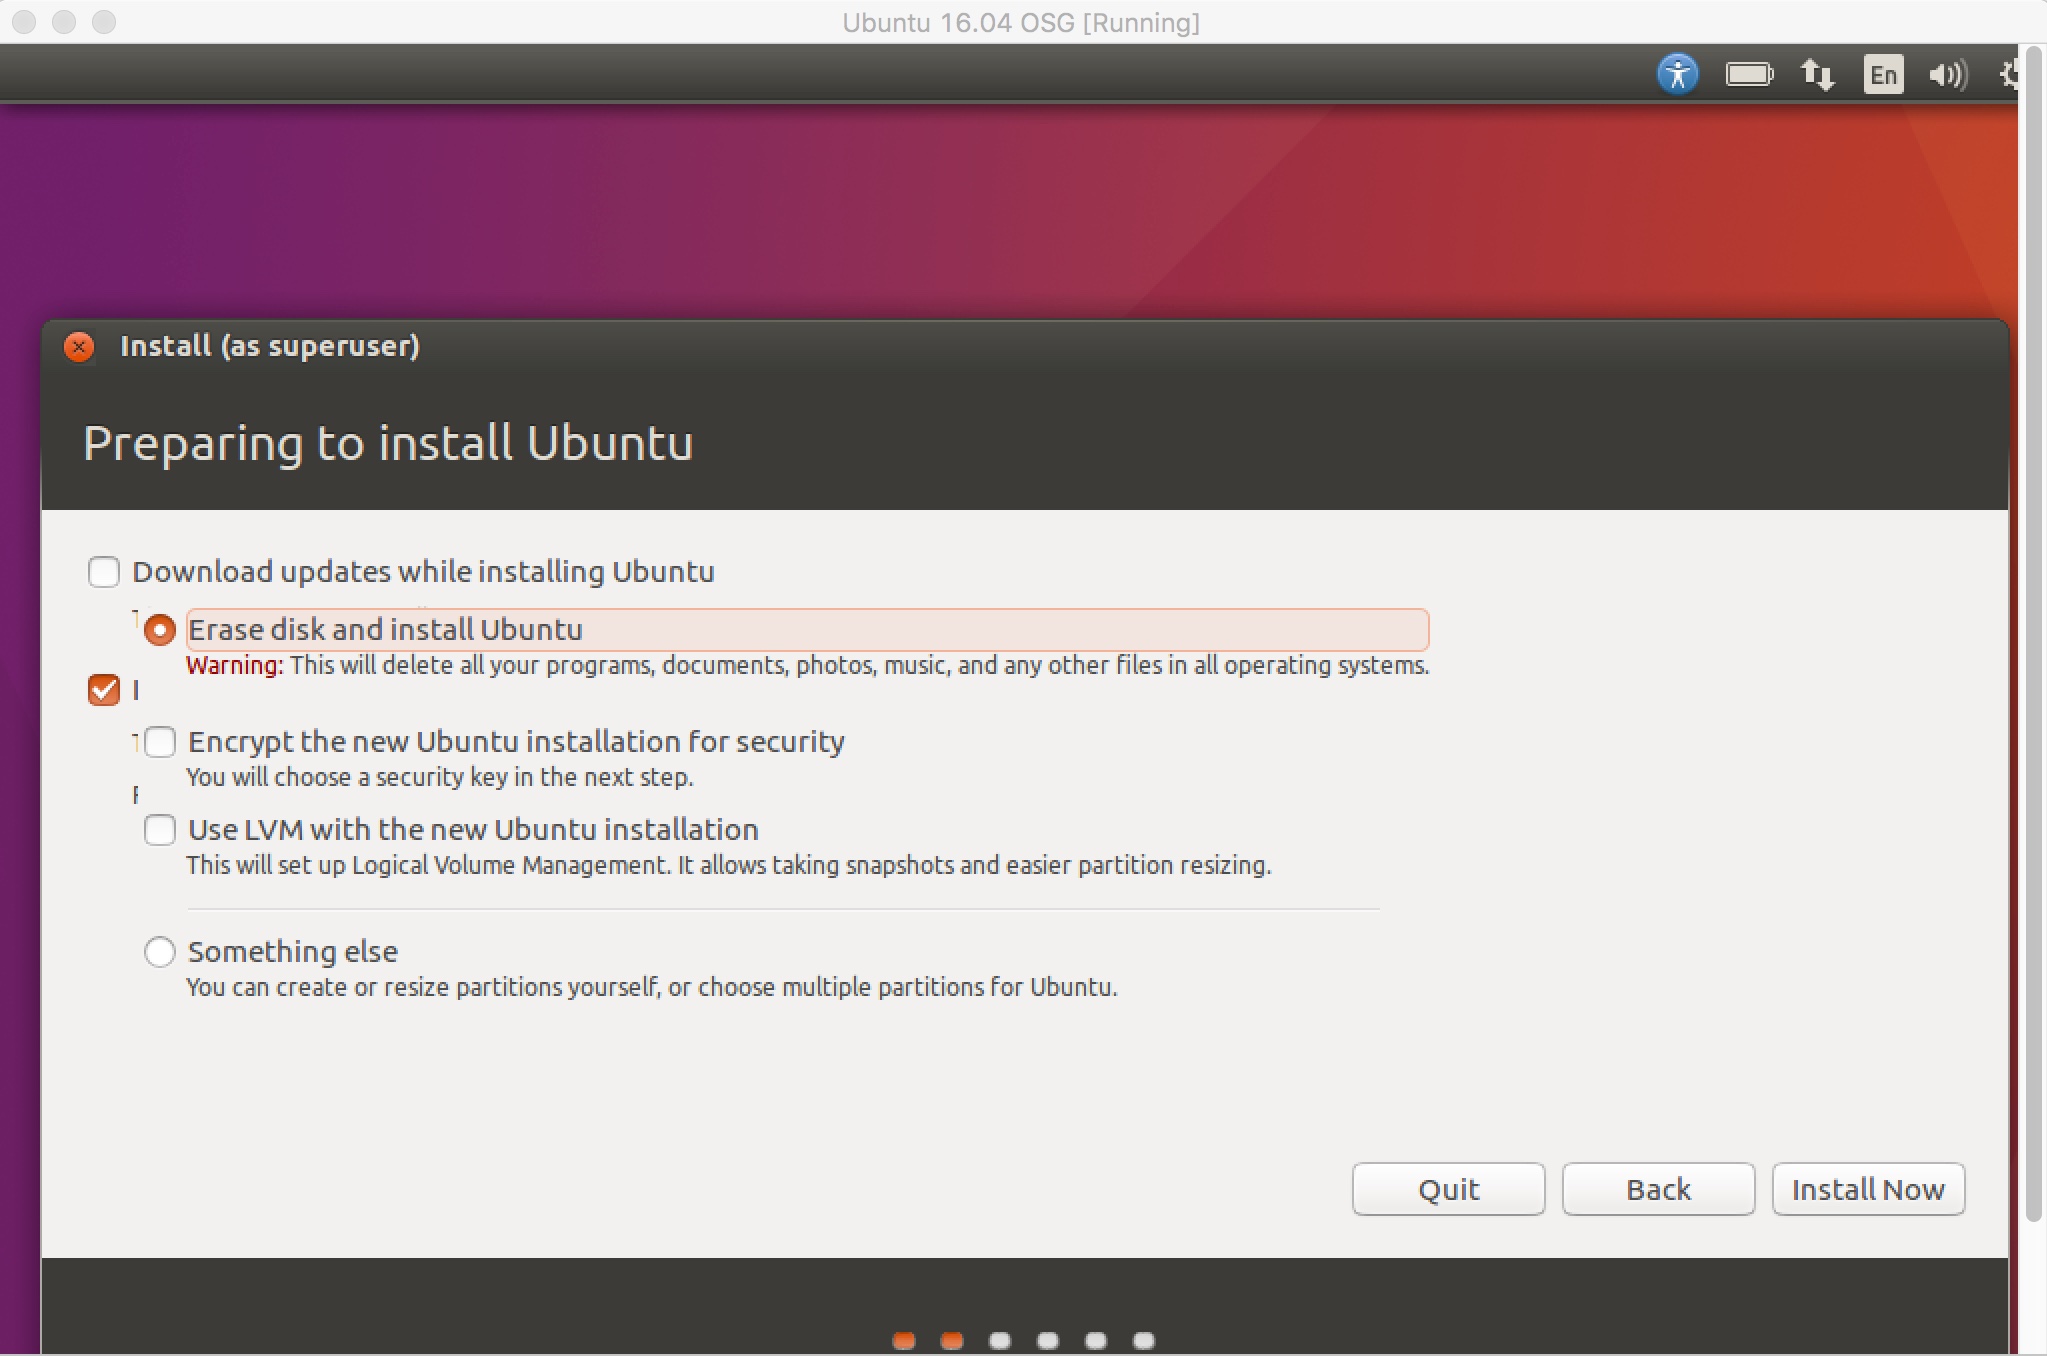
If you are setting up the Ubuntu 16.04 installation to a spare hard drive, or are installing Ubuntu onto a virtual machine, you can keep the default options above.
Also, you can choose whether you would like to encrypt the Ubuntu 16.04 installation for security purposes and/or create an LVM – doing so will give you more flexibility with resizing partitions and adding further hard drive storage in the future.
Select the relevant options (if required) and then click on “install now” to proceed.
Step 8:
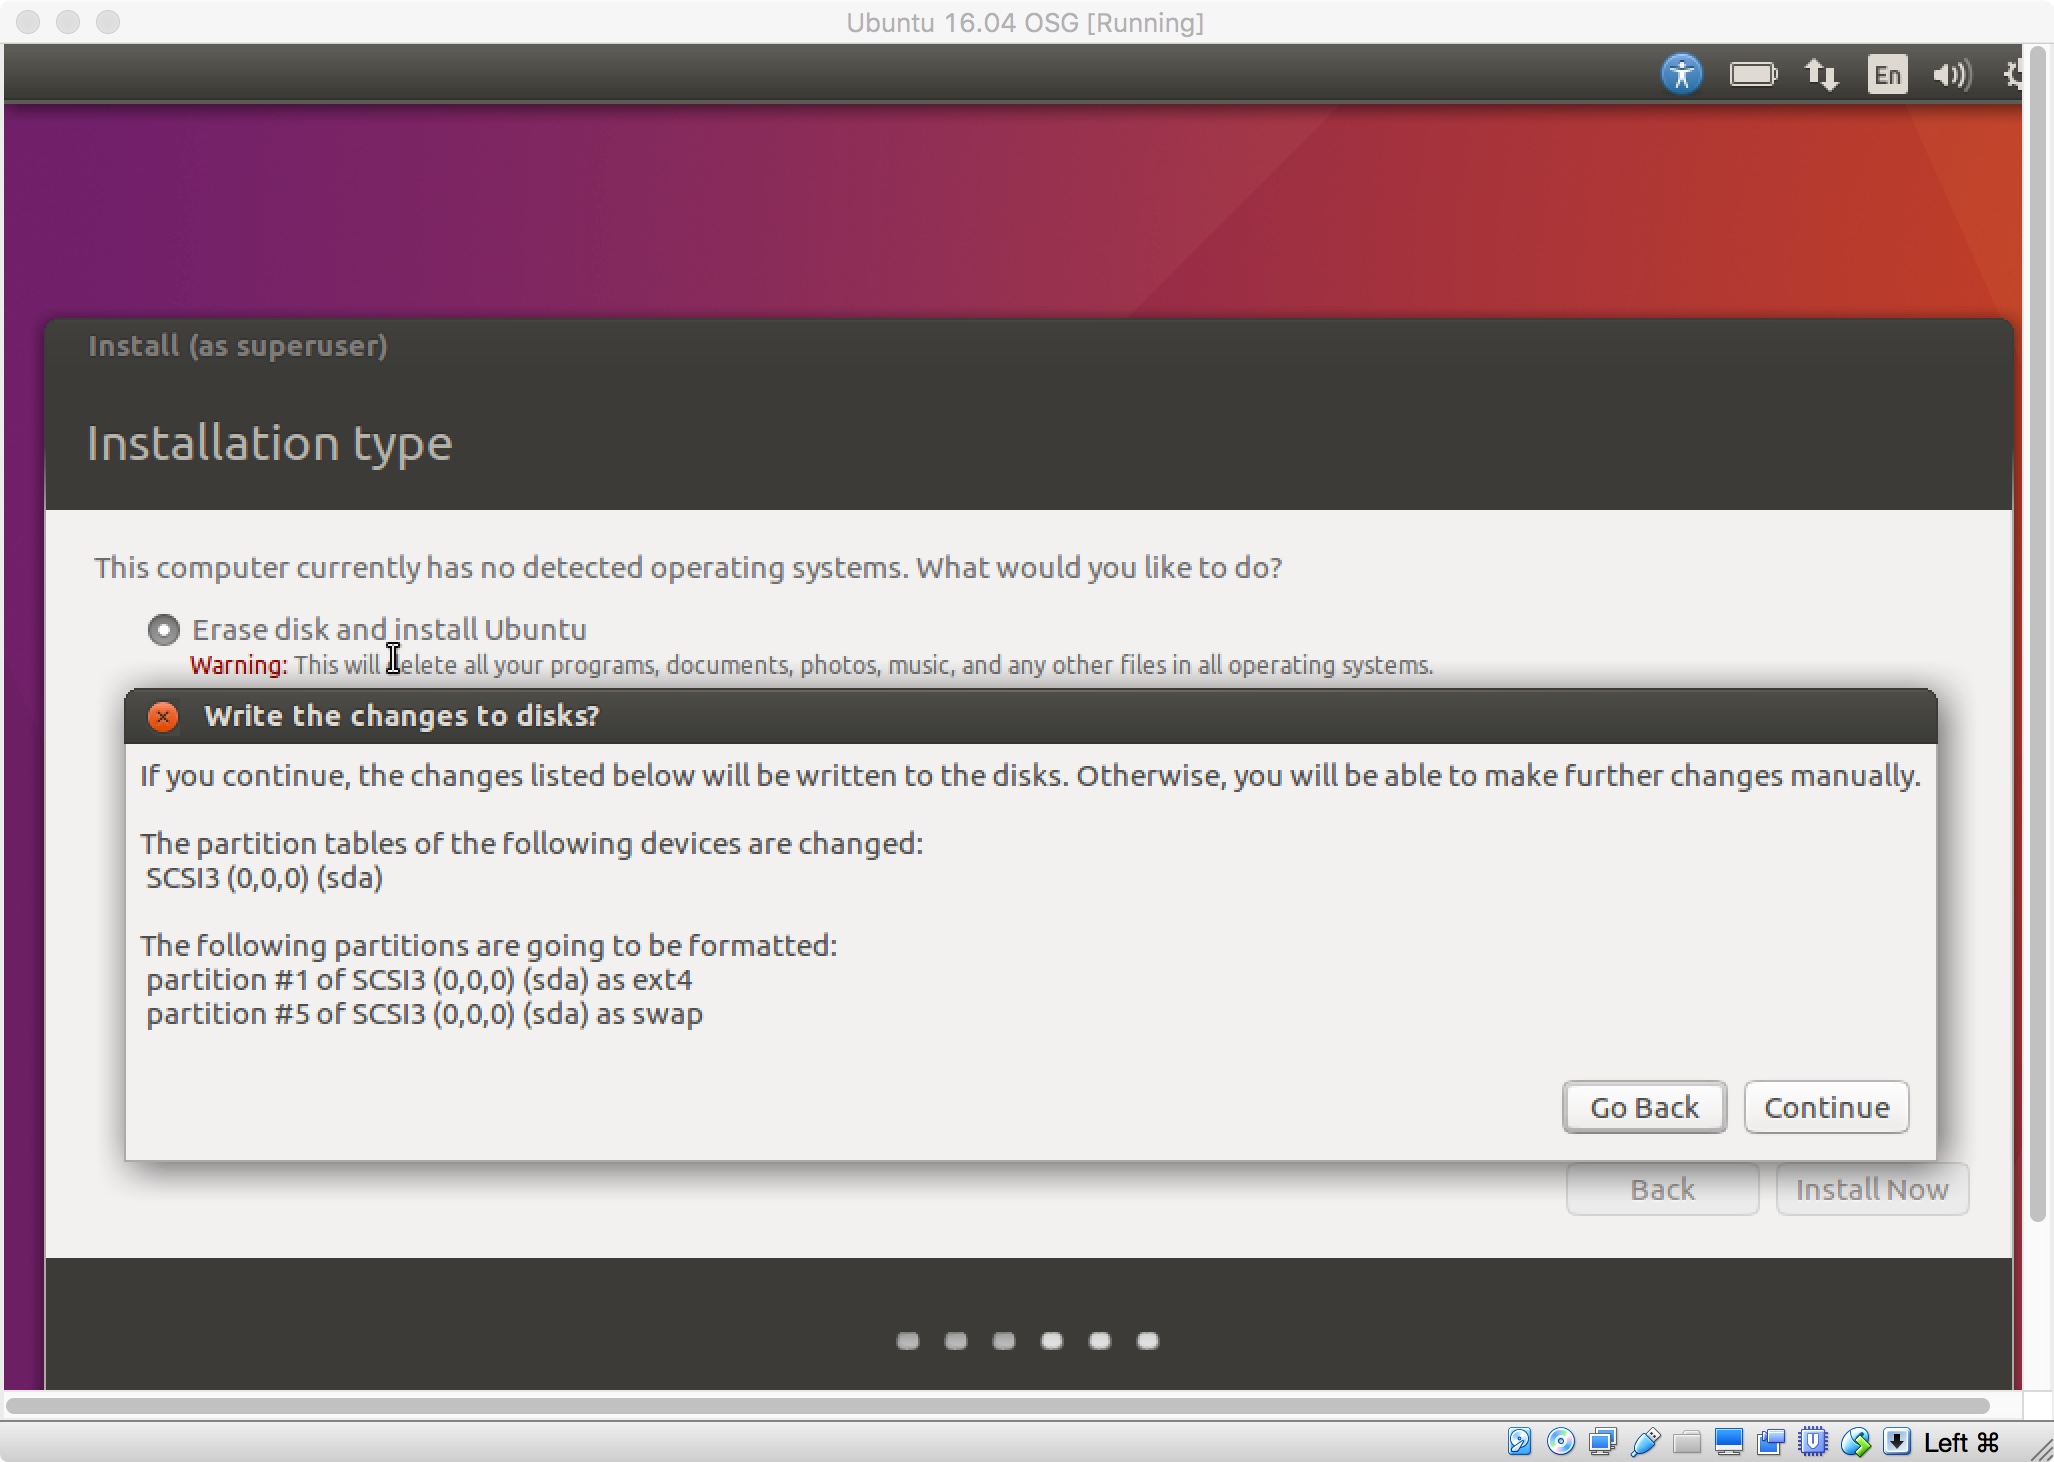
Confirm you are happy with the partition changes displayed, then click continue to proceed to the next step.
Step 9:
The following window will appear:

The next step asks you to select your locale. It should automatically find where you are, as it has for me already.
Click continue to proceed to the next step.
Step 10:
The next screen to appear will be keyboard layout:
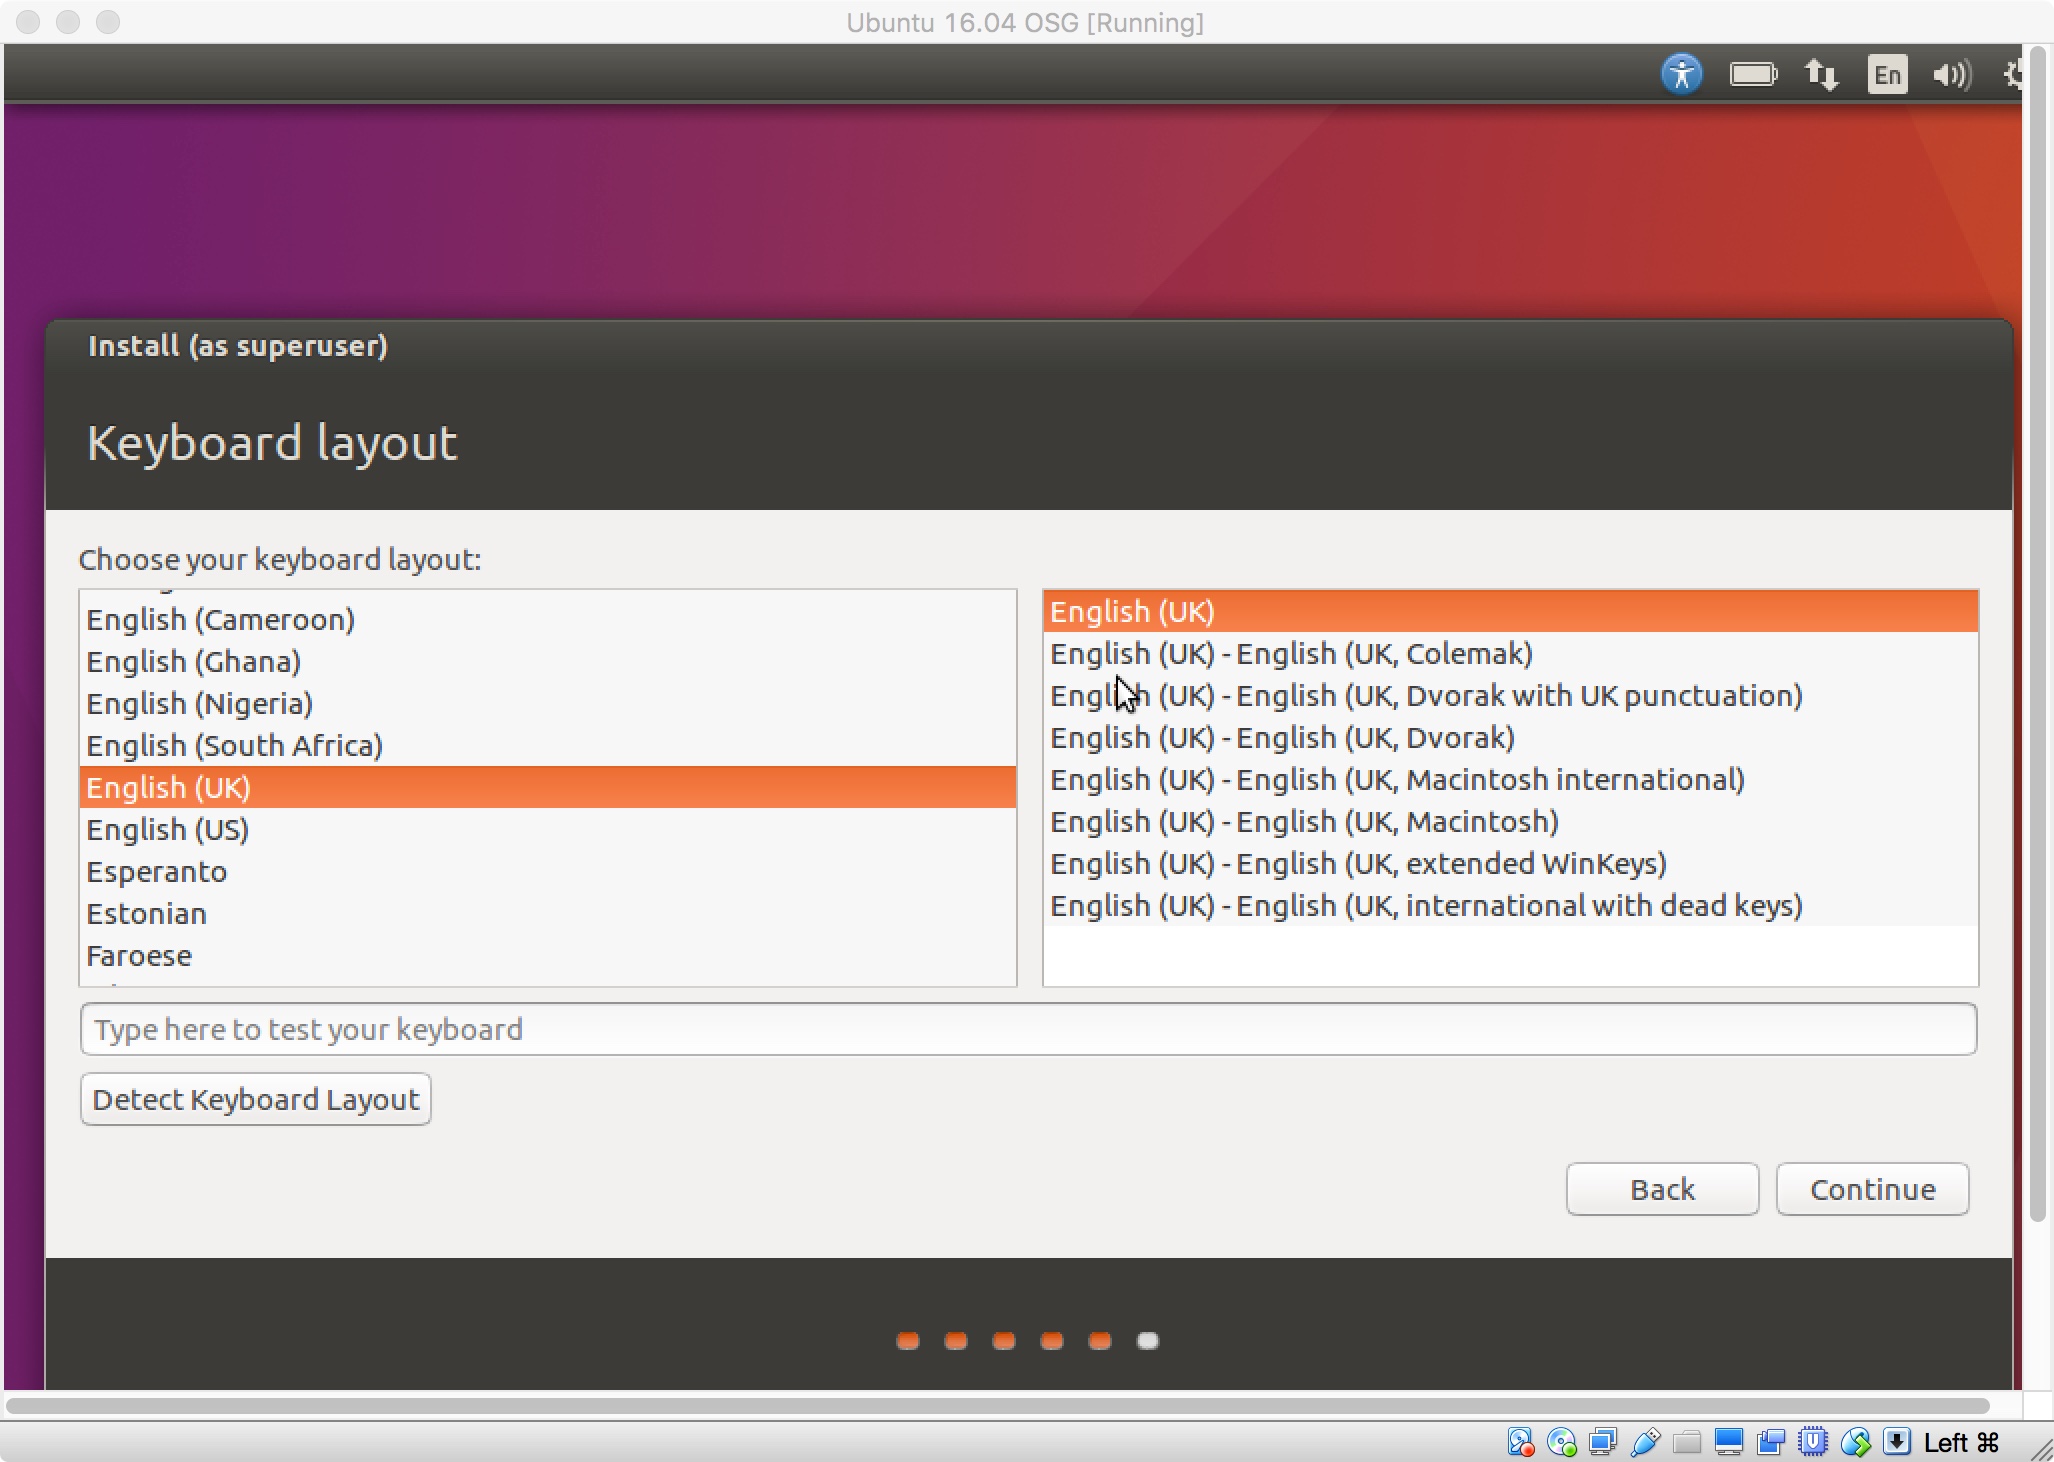
Ensure the correct option is selected. As per the previous step, you will notice the correct (and default UK) selection has been automatically made for me.
Click continue to proceed to the next step.
Step 11:
You will now be greeted by the “who are you” screen, ready for you to fill out with your user details:

The computers name and username will automatically populate when you type your full name. You can however either field as you please. Fill in the details and then click continue.
You can opt to have Ubuntu automatically log in for you — even with a password set — or you can choose the traditional option requiring a password to log in. You don’t need to choose the encrypt option unless you’re installing on a laptop and/or are dealing with highly secure information.
Step 12:
The Ubuntu 16.04 installation information screens will now appear as Ubuntu continues the installation:
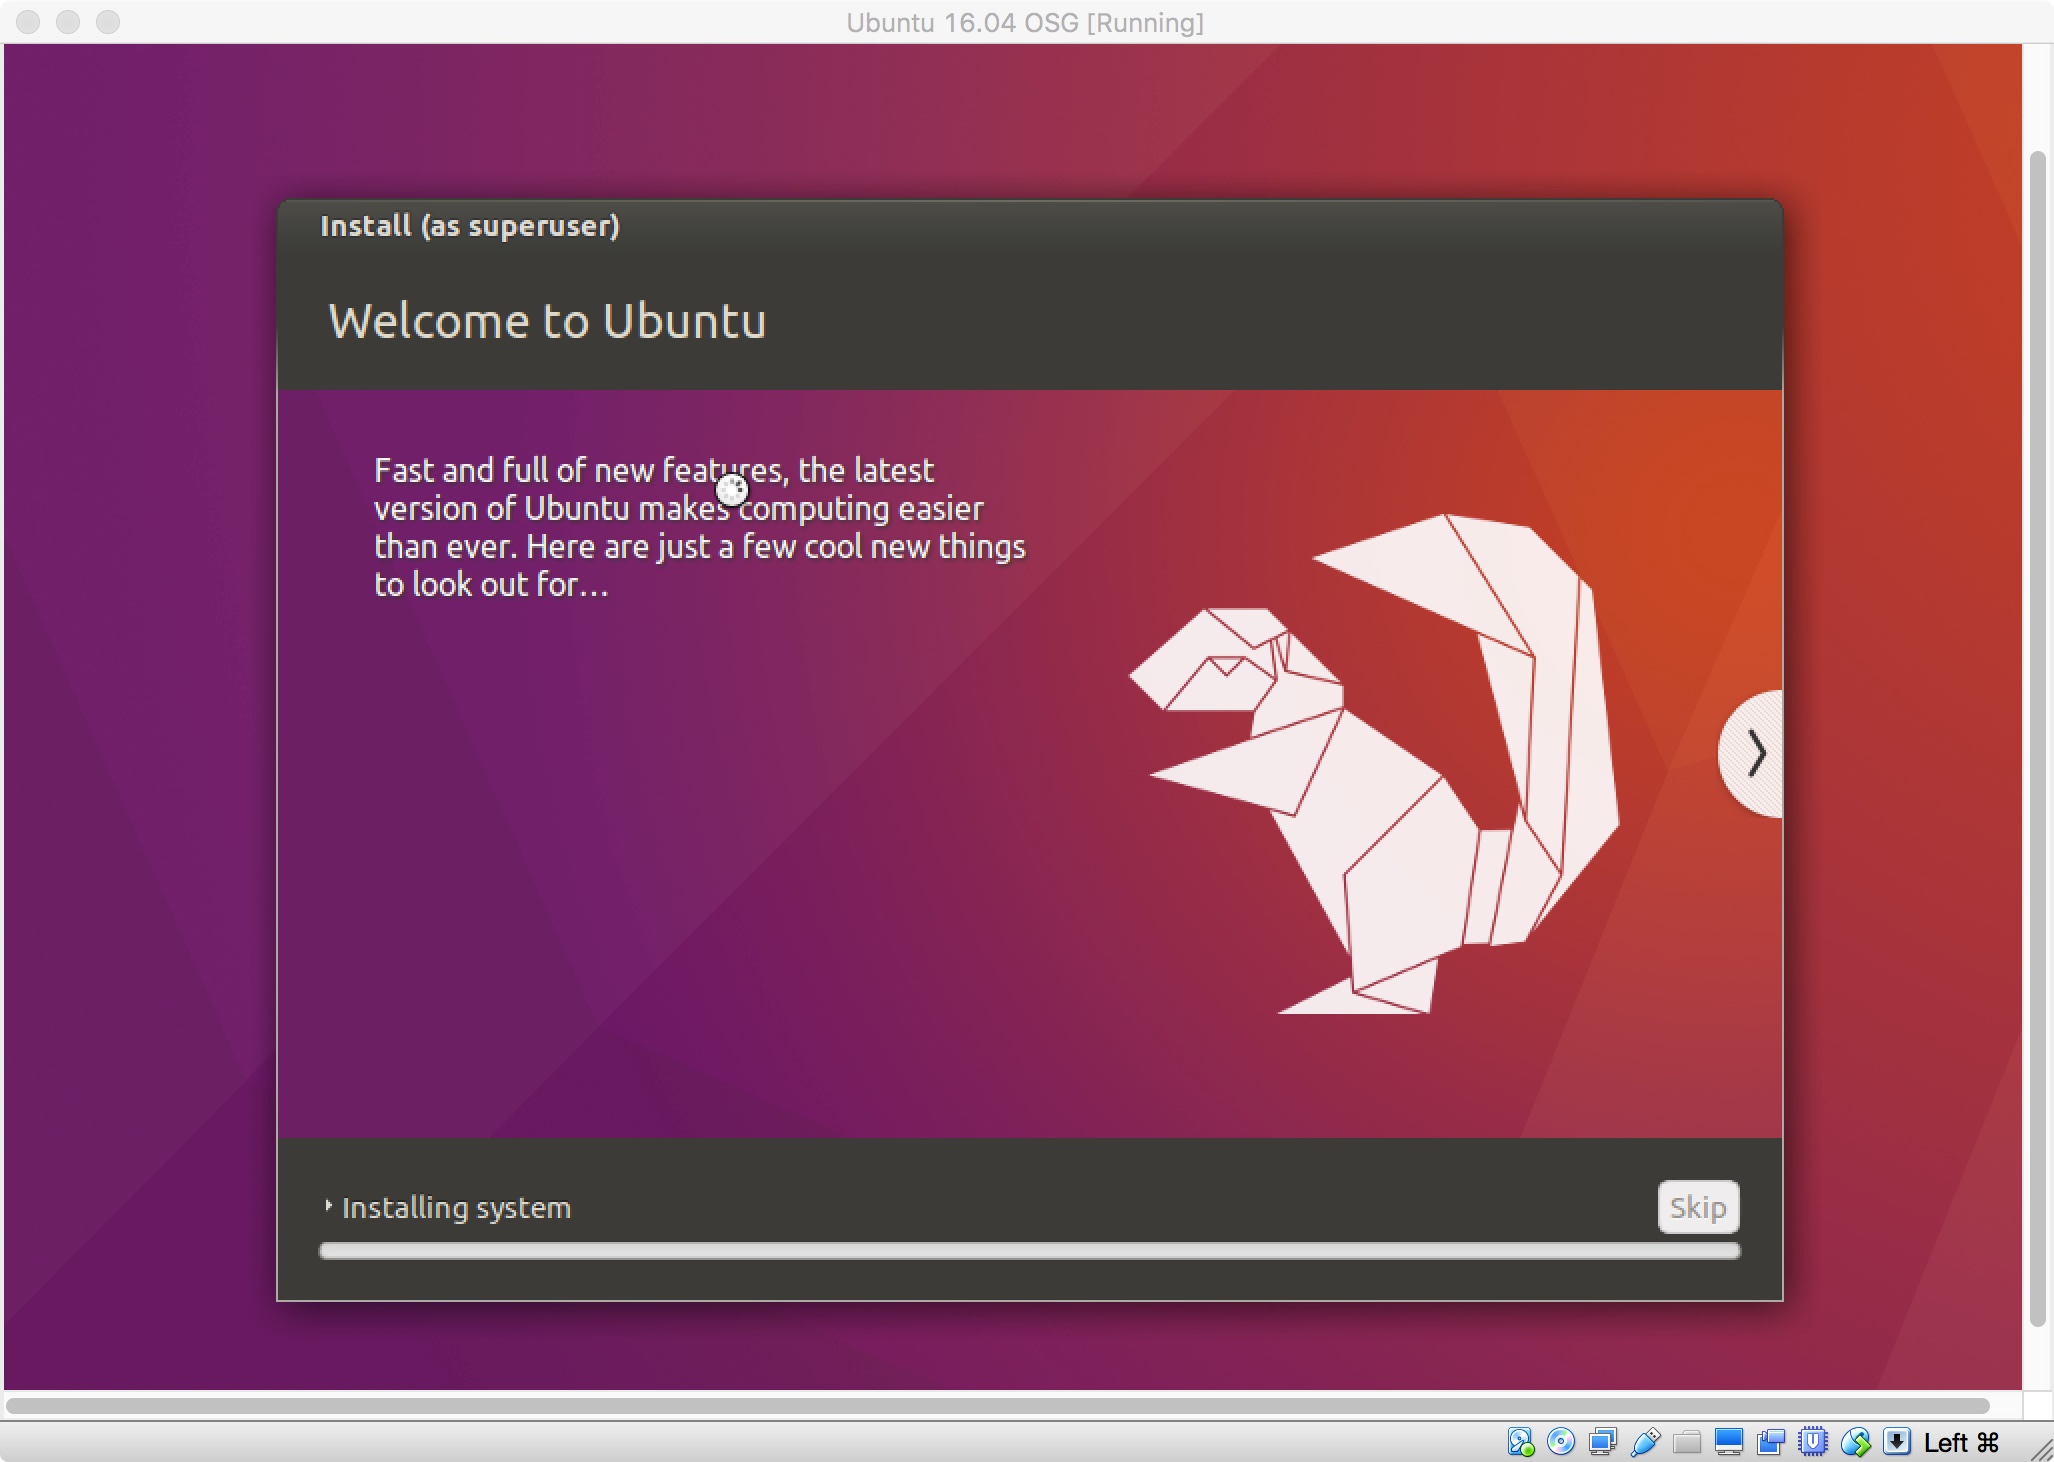
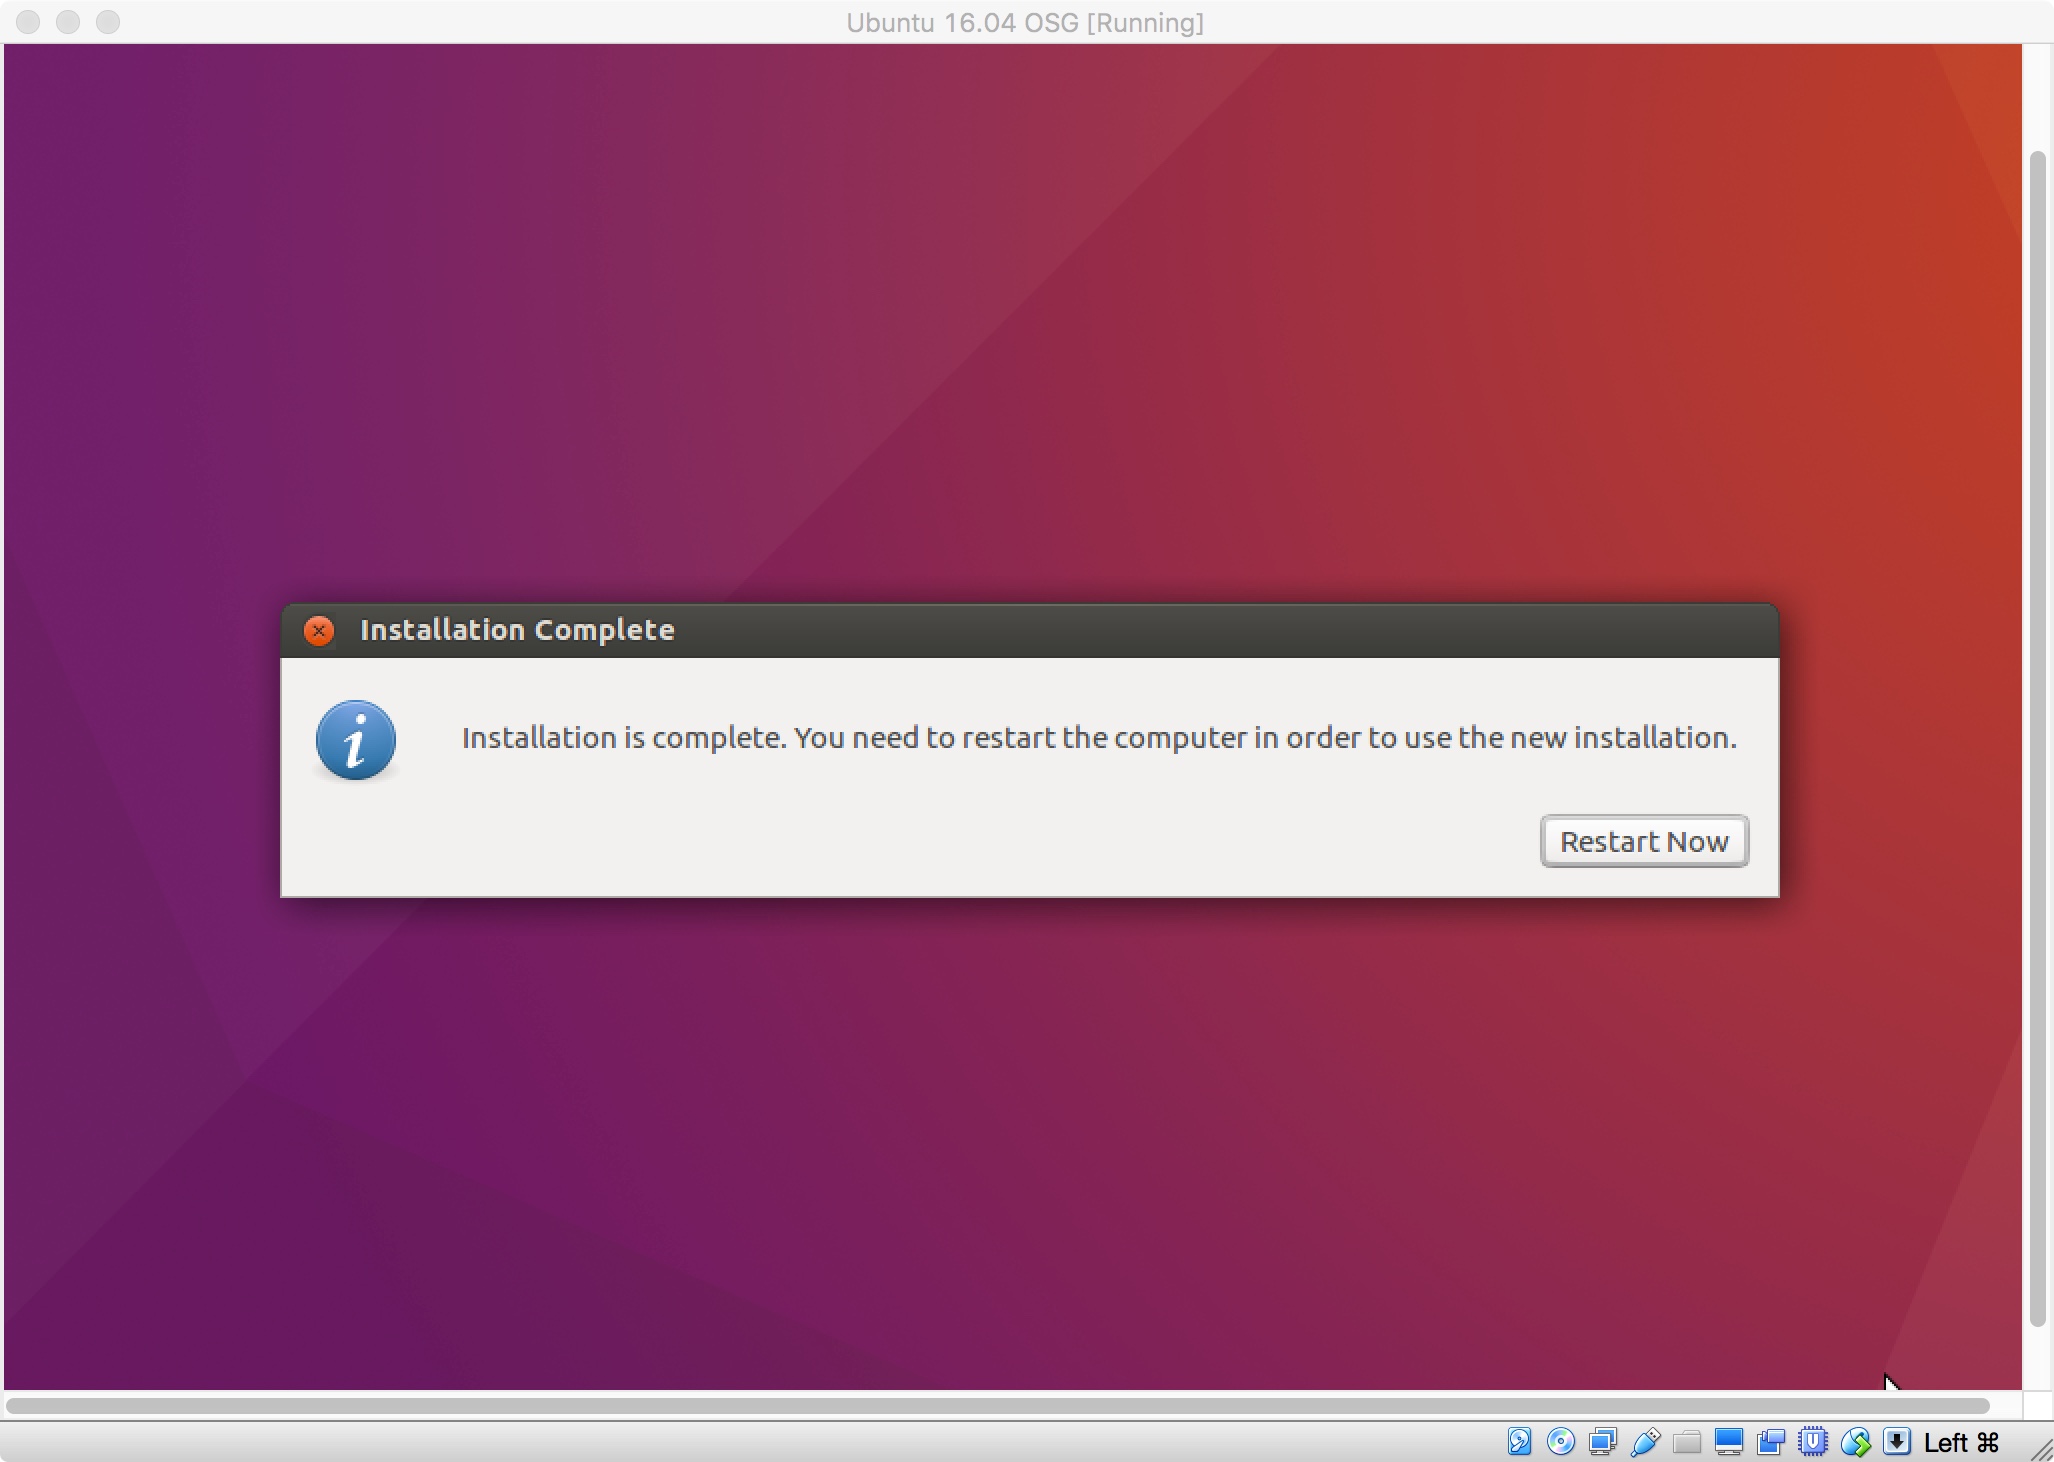
Progress of the Ubuntu 16.04 installation is displayed in the lower black bar. Once complete, you’ll see the following pop-up window.
Step 13:
Select “restart now” and when requested, remove your installation CD, then press enter to reboot.
Step 14:
For those of you that have Ubuntu as the only OS, the computer will boot directly into Linux. If you’re dual-booting, you will see the GRUB menu appear similar to below:
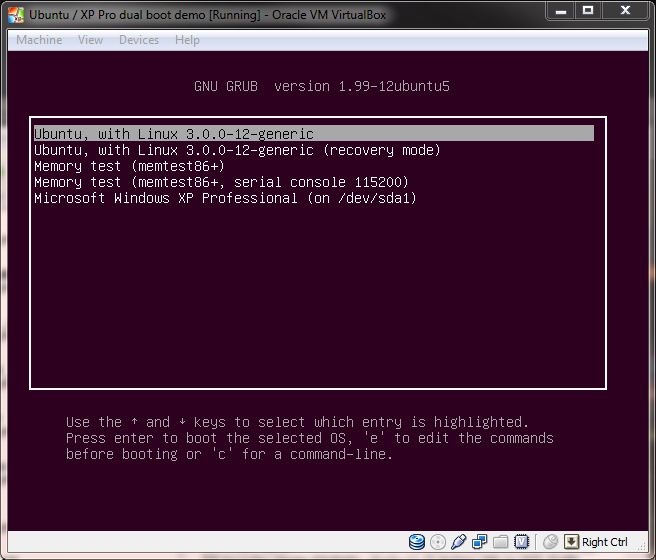
Hit enter, to select the first option and load your newly installed Ubuntu OS.
Step 15:
For those that elected to automatically log into Ubuntu, you will go straight to the desktop in Step 16. For everyone else, you will be greeted with the new login manager for Ubuntu:
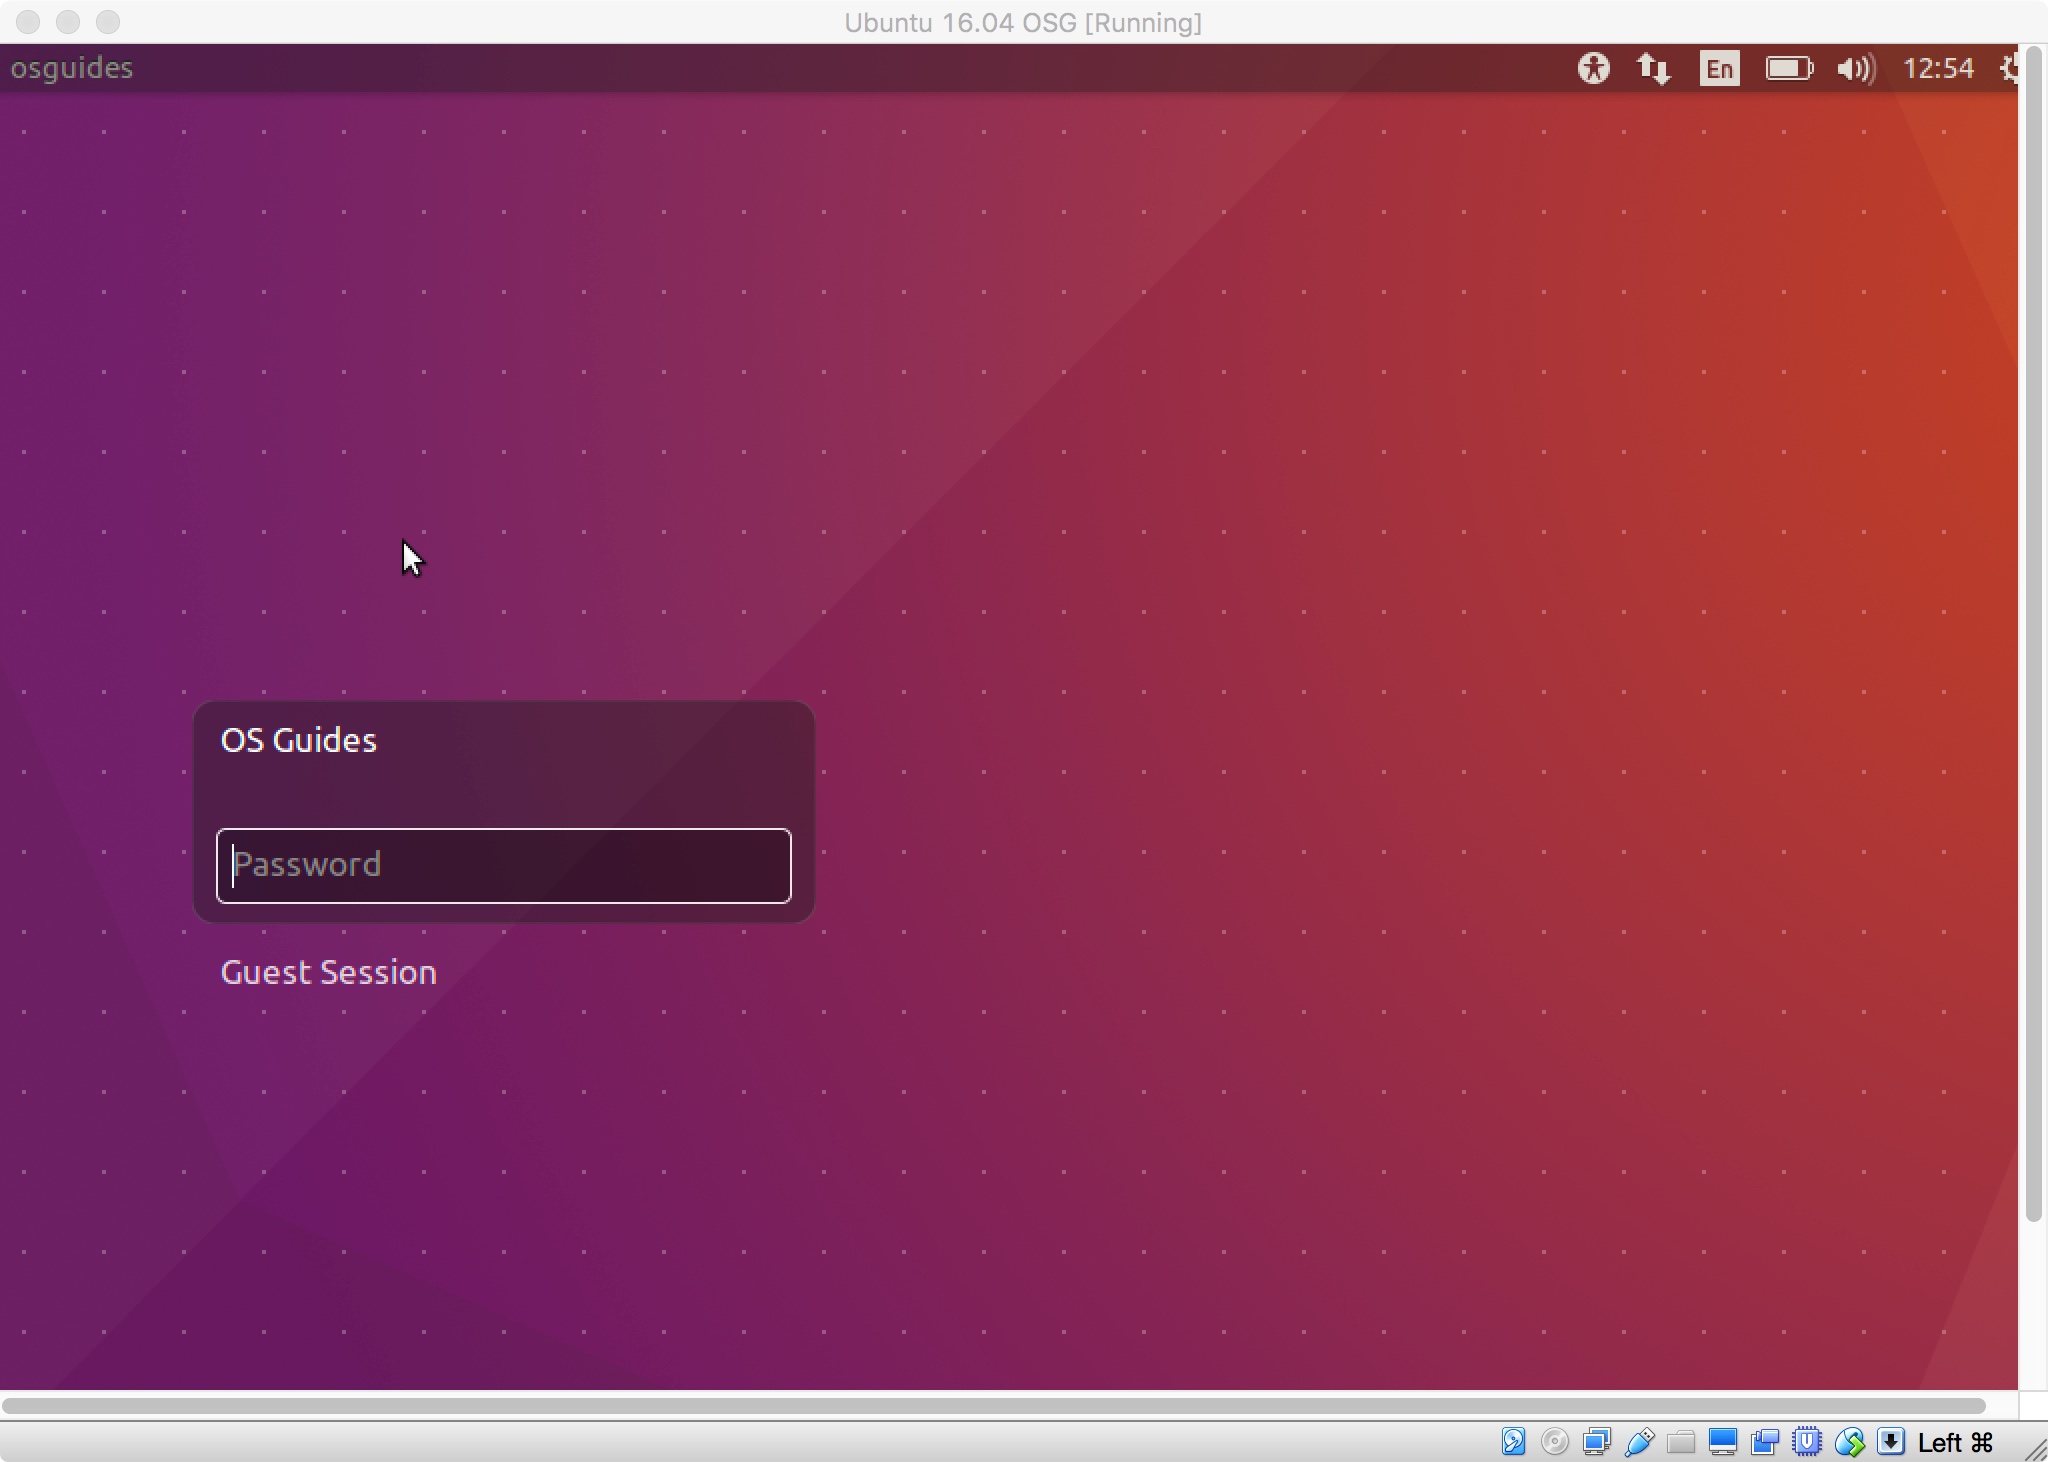
Enter your password, and hit enter to log in to your desktop.
Step 16:
Your desktop should look like this:
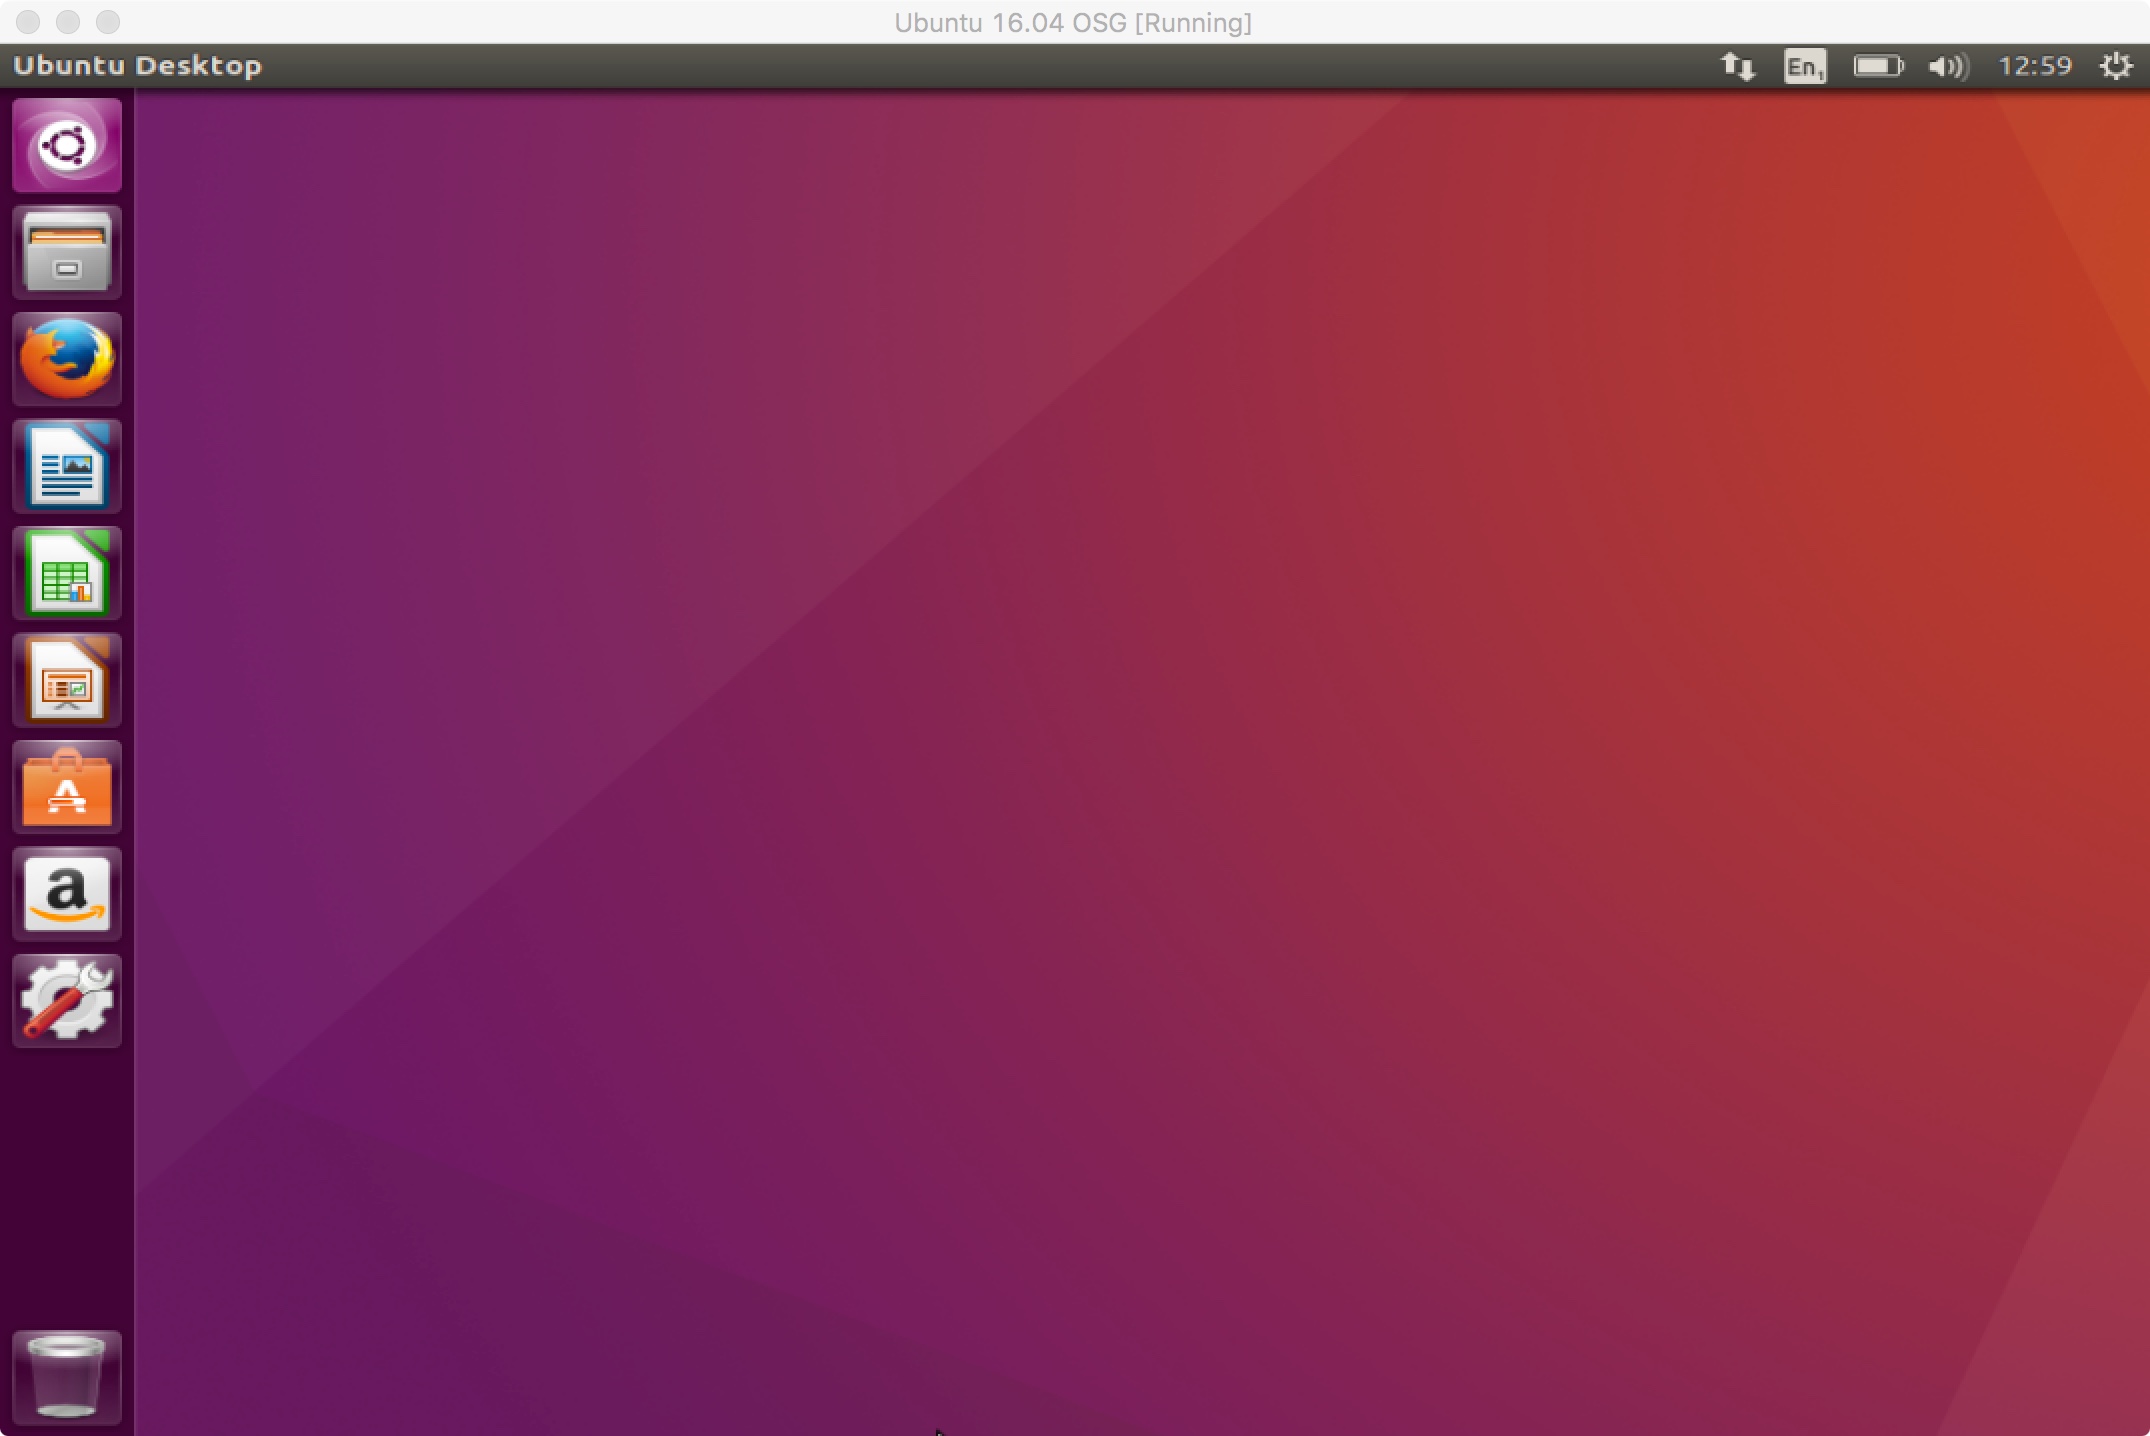
Now you can enjoy your new OS and begin exploring its features.
Disclaimer: It goes without saying, that neither Lee Hinckley-Kaelin or any other author is responsible for any errors or damage caused to your computer during or after installing Linux. It’s up to you to ensure proper backups are made of important data and that your computer is suitable for this operating system.