Tutorial: Slackware 14 Linux Installation
In this tutorial, I will cover the step-by-step procedure for Slackware 14 installation using the Slackware 14.0 Linux 64-bit DVD media. It is worth noting that the 32-bit Slackware 14 installation will be the same. I will try to explain certain options and provide helpful hints along the way, so rather than just following the guide, you can understand the reasoning behind the decisions.
If there are any mistakes please draw my attention to them and I will correct as needed. I have tried to make this as simple as possible, whilst covering the vast majority of scenarios users will come across when installing this operating system.
Step 1
The first thing you should do is head to the Slackware website and download the Slackware64-14.0-install-dvd.iso image. The disc image used in this guide can be downloaded here.
Step 2
Using your disc burning software, burn the .iso you downloaded to a DVD.
Step 3
Before you go any further, ensure all important data is backed up in case of data loss on your drives. This guide assumes you have media backups of your hard drives and you are safe to proceed.
Warning: Installing another operating system without first ensuring you have backups of your current files and operating system is a big risk. If you have no data to lose or you’ve backed up important data, you’re ready to proceed. YOU are responsible if you lose data.
For those of you using Windows and installing Linux for the first time I recommend you either use a separate hard disk not used with Windows, or create a partition big enough for Linux within Windows, by using the Disk Management utility in the Administrative Tools menu of the control panel. 20GB of hard disk space is absolutely plenty of space for you to begin exploring Slackware whilst at the same time having room to grow.
Info: It goes without saying, that I accept absolutely no liability or responsibility for any errors or damage to your computer during, or after installing Linux. It is up to the user to ensure proper backups are made of important documents and files and this tutorial assumes these have already been completed and verified.
Step 4
Ensure you have a network cable connected, restart your computer, and boot from the CD drive.
Step 5
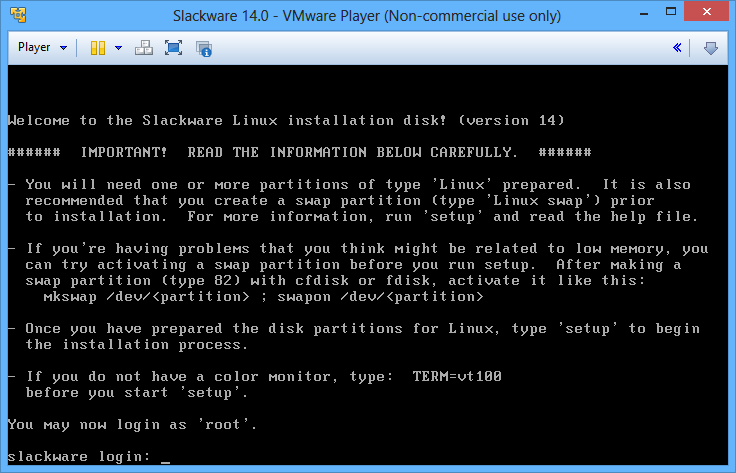
The DVD will begin to load up, and you’ll be presented with the boot prompt:
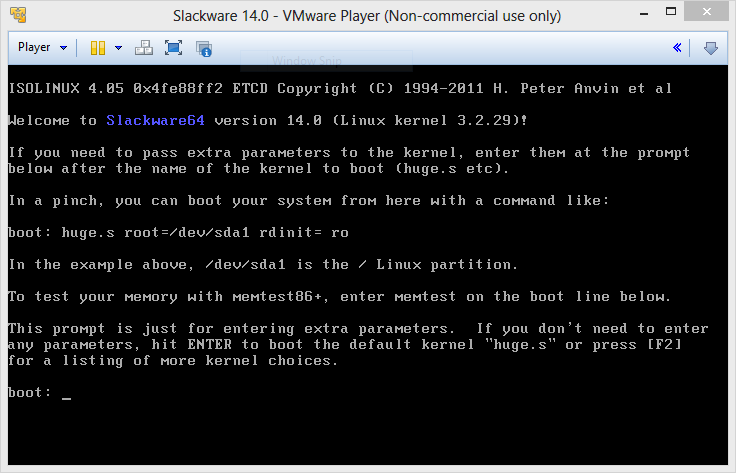
Press enter to boot the Slackware 14 installation media.
Step 6
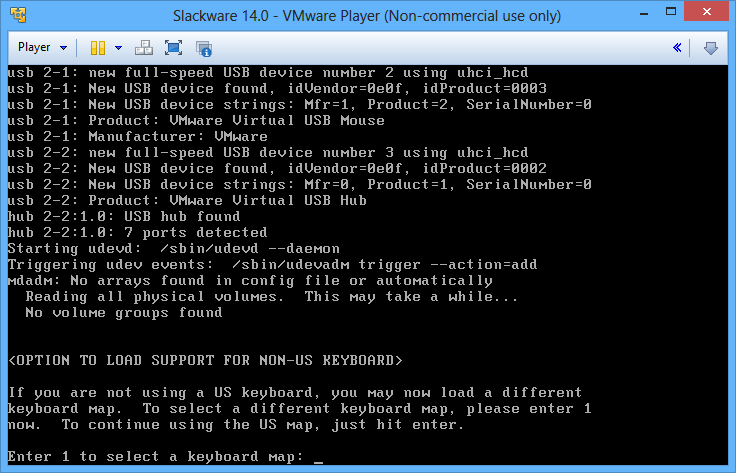
Before you can continue with the Slackware 14 installation you will be required to select the correct keyboard layout map. Those using a US English keyboard can press enter. Everyone else needs to type 1 and select the correct map from the menu as shown below:
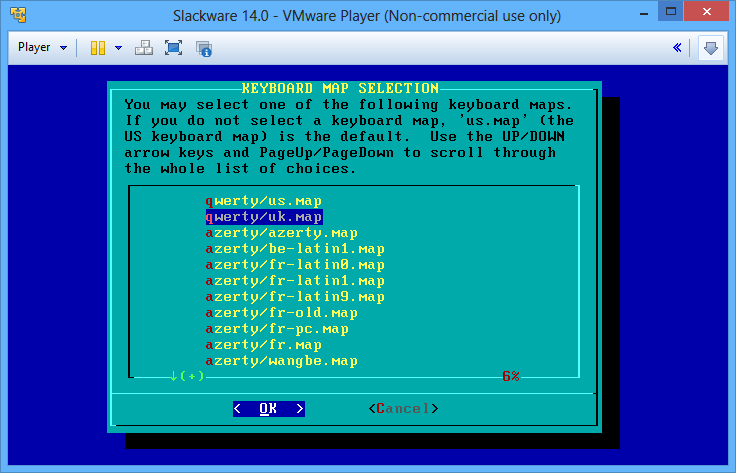
Once the correct version is highlighted press enter to move to the next screen.
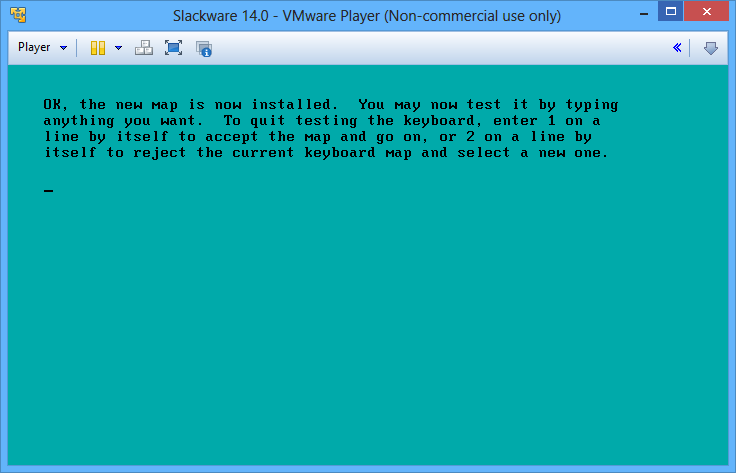
You’ll now have the opportunity to test that the keyboard layout is correct. Type 1 on any line by itself and press enter to move to the next step.
Step 7
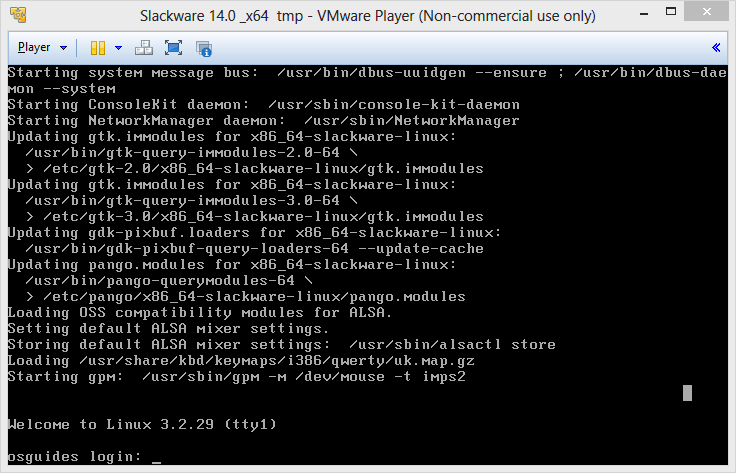
The Slackware 14 installation media will then boot to the login prompt, as show below:
Type root and press enter to login.
Step 8
The next step is to setup your hard disk partitions using fdisk. For this installation tutorial, we will be creating four partitions. To proceed we need to start fdisk and tell it which disk we intend to work with.
Info: Linux recognises and assigns IDs to drives differently to Windows. Drives are recognised in the following way:
SATA disks are identified as sdx and IDE as hdx. For example:
- Hda or Sda = 1st drive
- Hdb or Sdb = 2nd drive
- Hdc or Sdc = 3rd drive and so on
Partitions on each drive are shown after the drive letter. So if I had two partitions on my first disk, they would be identified as hda1 or sda1 (1st drive/1st partition) and hda2 or sda2 (1st drive/2nd partition.
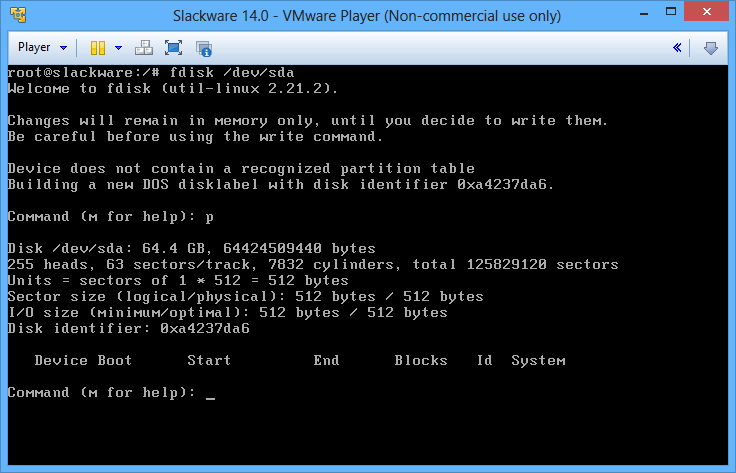
For the purposes of this tutorial, we will assume Slackware is going to be installed to your first SATA hard drive, it doesn’t contain any data and is ready for partitioning. To start fdisk type fdisk /dev/sda and press enter.
Before continuing it’s good to examine your current drive. Type p and press enter to display its properties, as shown below:
This guide will cover the creation of four partitions: three for the operating system and a fourth for SWAP. This guide uses a 64GB hard drive. For those using larger drives, the size of /home can be increased.
The first partition we will create is 10GB for root.
Lower half of image 8 showing the create a partition process for 10GB partition.
- Type n to create the first partition and press enter
- Type p and press enter to create a primary partition
- Type 1 to create the first partition and press enter
- Define the start point of your new partition on the hard drive. Pressing enter here will select the default value which in turn creates the new partition as close to the start of the drive as possible
- Define the size of the partition, or press enter to use the entire space. Type +10G to create a 10GB partition.
- Fdisk will then confirm the partition has been created successfully.
Next up, we’ll create a 15GB partition for /usr

- Type n to create the first partition and press enter
- Type p and press enter to create a primary partition
- Type 2 to create the first partition and press enter
- Define the start point of your new partition on the hard drive. Pressing enter here will select the default value which in turn creates the new partition as close to the start of the drive as possible
- Define the size of the partition, or press enter to use the entire space. Type +15G to create a 15GB partition.
- Fdisk will then confirm the partition has been created successfully.
Create a third partition for /home using the same methods as above, ensuring you leave enough hard disk capacity for double the system’s RAM in SWAP space.
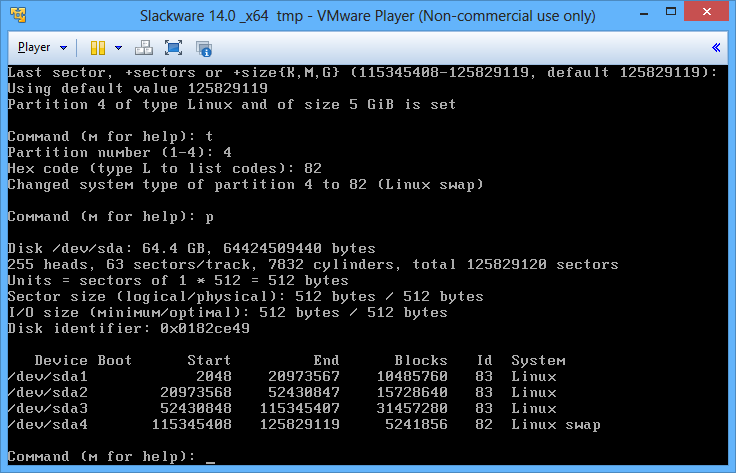
The SWAP partition is created in the same way as the previous partitions, but before it can be used for SWAP we need to change the file system type.
- Type t and press enter
- Type 4 and press enter to select the fourth partition
- The correct Hex Code for SWAP is 82. You can view the entire list by typing L and enter. The correct Hex Code is 82.
- Fdisk will then notify you that the fourth partition has been changed to 82, Linux SWAP.
Type p and enter to verify the partition structure of the four partitions are correct. They should look like below:
To complete the partition setup type w and press enter. This will write the changes to disk and return you to the installer prompt.
Step 9
To begin the Slackware 14 installation type setup and press enter. Installation will begin with the following notification window:
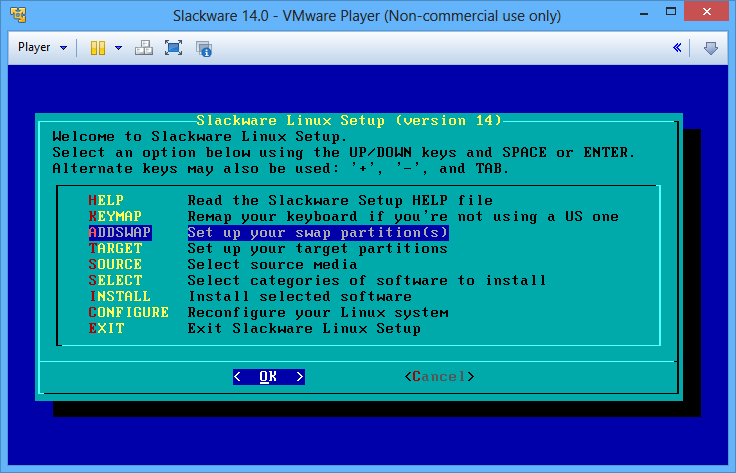
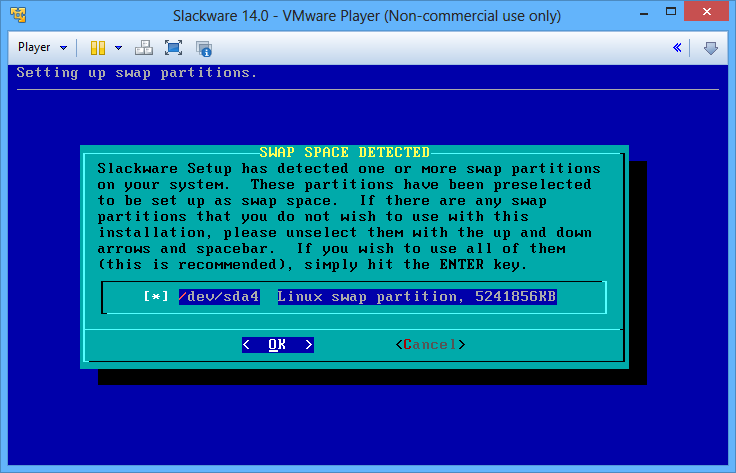
Highlight ADDSWAP and press enter. The SWAP partition you created earlier should then be detected in the next step, as below:
Press enter to select this partition and you’ll then be asked if you want to check the SWAP partition for bad blocks.
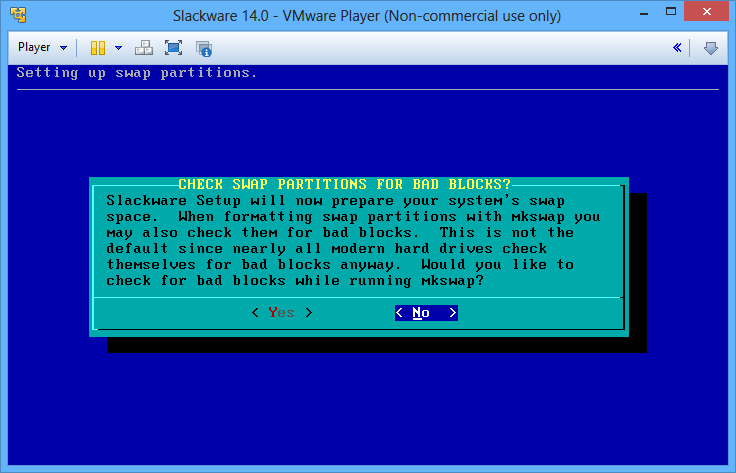
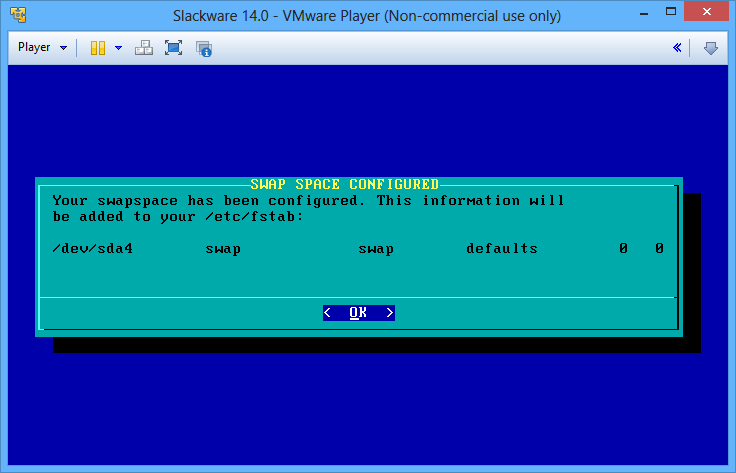
Unless you suspect the disk may have bad blocks, highlight no and press enter to proceed. The installer will then confirm that the SWAP space has been correctly configured, as below:
Step 10
In this step Slackware will ask for information to mount the partitions you created in step 8, as shown below:

To mount each partition several steps need to be completed. Starting with the first drive, highlight sda1 and press enter to proceed.
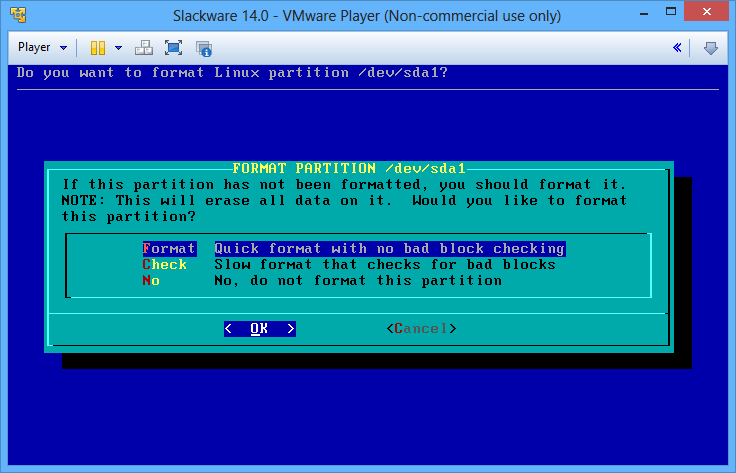
Highlight the first format option, and press enter. Those of you that wish to check for bad blocks can choose the second option but beware, it drastically increases the time required.

The next stage is to select the partition type. The default is ext4. Highlight this and press enter to finish setting the partition up.
Now that the root partition is setup you will be returned to the partitions menu as below:
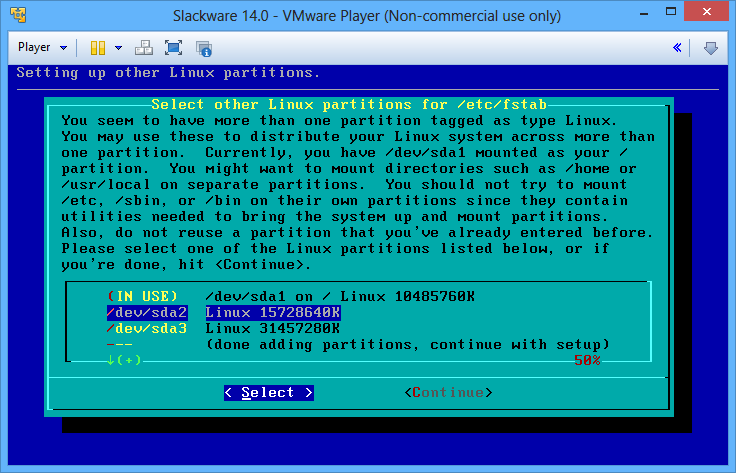
The second and third partitions are set up in a similar manner to the first partition, with the notable exception of needing to set a mount point after choosing the partition type, as seen below:
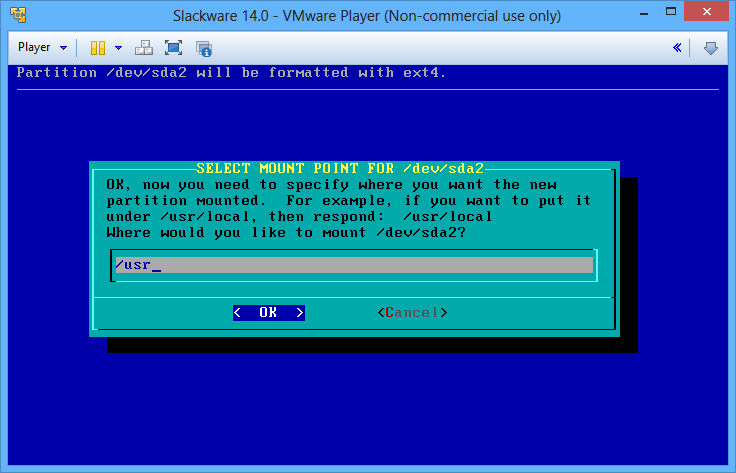
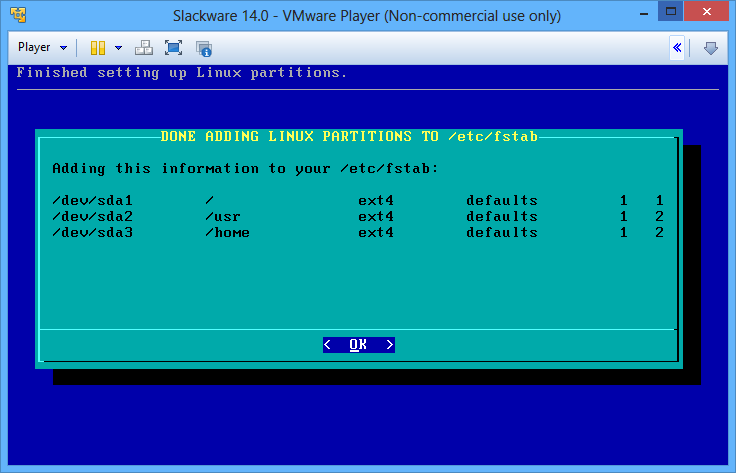
The second partition (/dev/sda2) is for /usr and the third, (/dev/sda3) is the partition for /home. Once all three partitions have been allocated mount points the Slackware 14 installation utility will display a summary of settings, which should look like these below:
Step 11
The next step is to select the correct Slackware 14 installation media, as shown below:
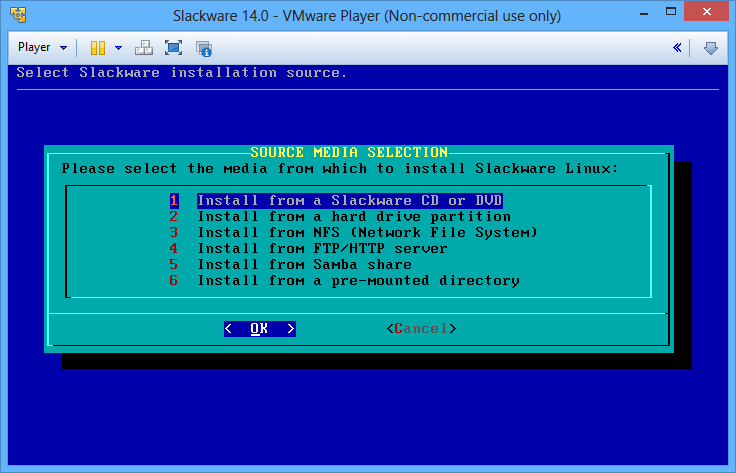
In our case it’s the first in the list, “Install from a Slackware CD or DVD”. Ensure this is highlighted and press enter to proceed. The installer will then present the following screen:
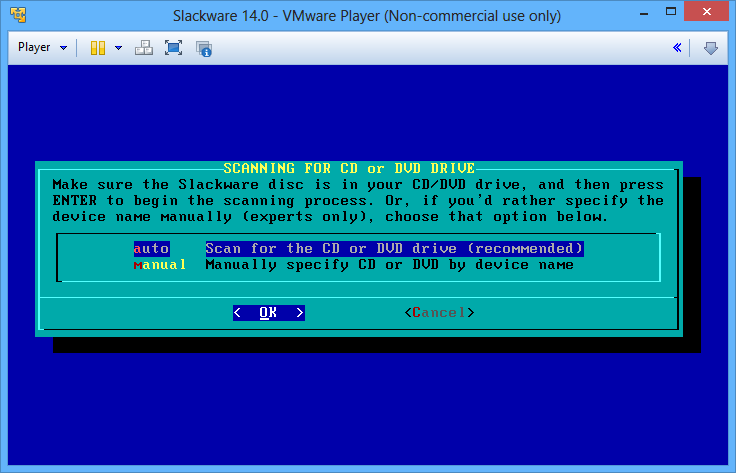
Ensure auto is highlighted and press enter to proceed. The installer will now search for the Slackware 14 installation media and load the software selection menu.
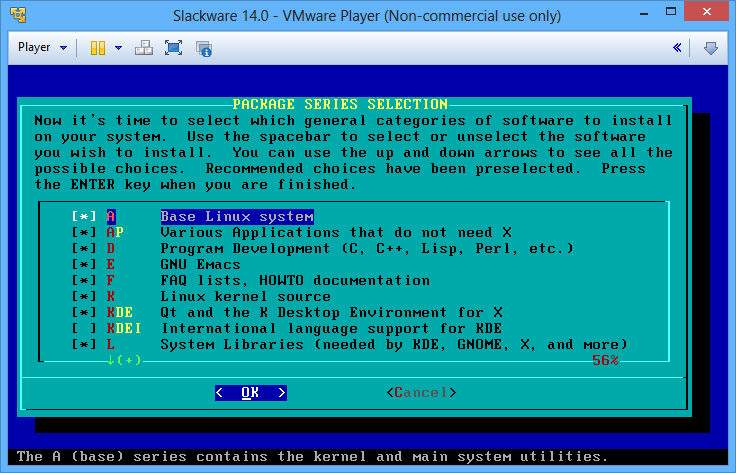
At this stage, it’s possible to customise exactly what packages are installed by selecting or deselecting the core package groups displayed. This is beyond the scope of this installation guide however, so for the purposes of this guide, all of the previously selected package groups will be installed.
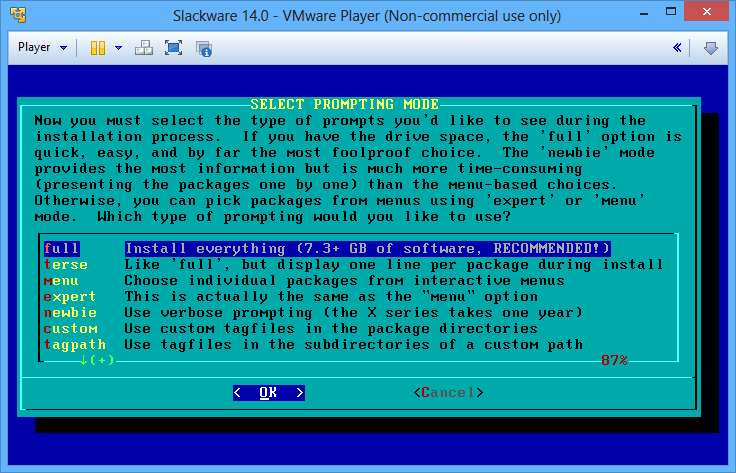
There are several options to specify what prompts you would like to receive during the installation stage. The default is “full” which will automatically install every package without prompting. Those that want to be prompted for each package, or define certain packages for installation can choose other methods. However, these are beyond the scope of this installation guide. Highlight the relevant option and press enter to begin the Slackware 14 installation.
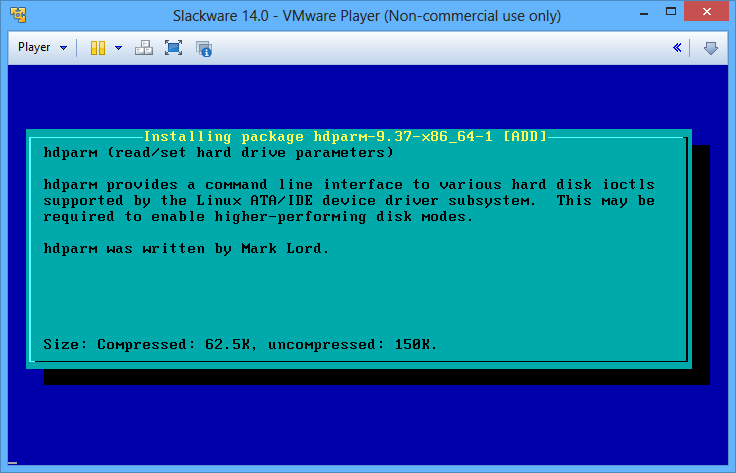
The packages will now be installed on your hard drive one by one until complete, as below:
Step 12
Once the files have finished copying the installer will load a prompt asking whether you wish to make a USB flash boot image, as below:
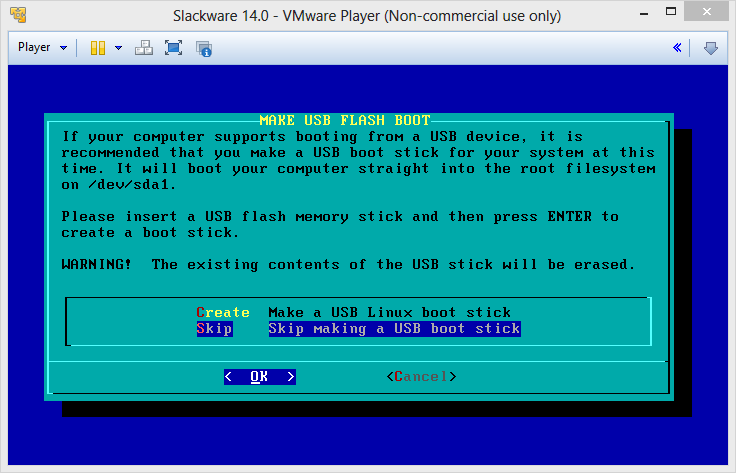
This isn’t necessary for the vast majority of those using Slackware. Highlight skip and press enter to move to the next step.
Step 13
The next step is to install and configure a suitable boot loader in order to load Slackware.
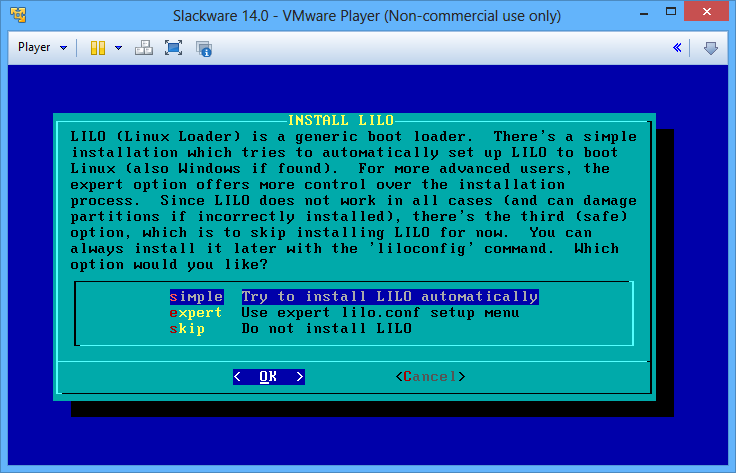
The easiest method is to install LILO using the simple option. Highlight simple and press enter to proceed.
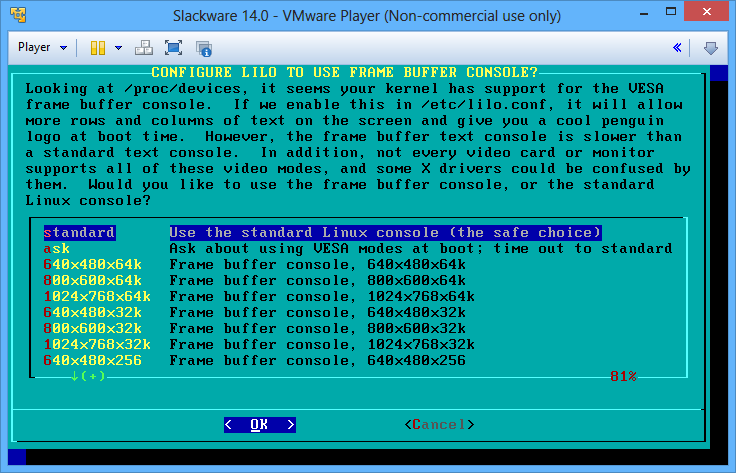
To avoid any potential problems arising it makes sense to set the frame buffer option to standard, which guarantees maximum compatibility. Highlight standard and press enter to continue.
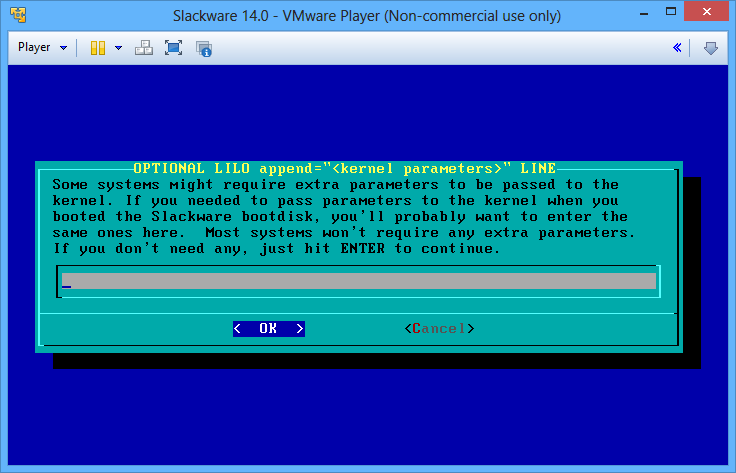
By default, it shouldn’t be necessary to provide any additional parameters in the above step. Press enter to proceed.
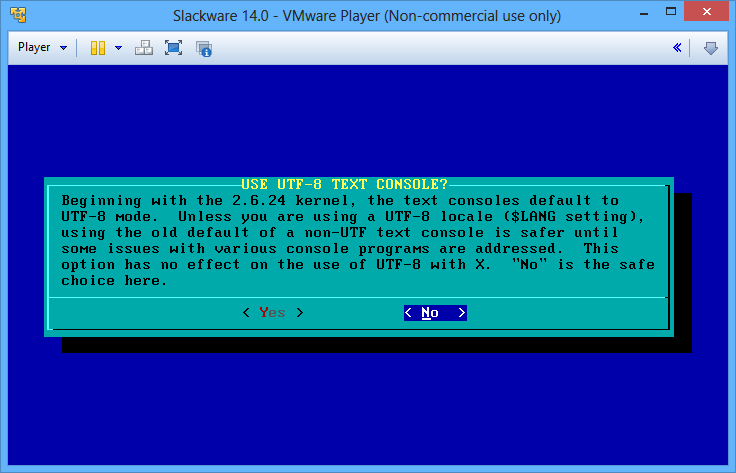
Again, the safe option here is no, so highlight this and press enter to proceed.
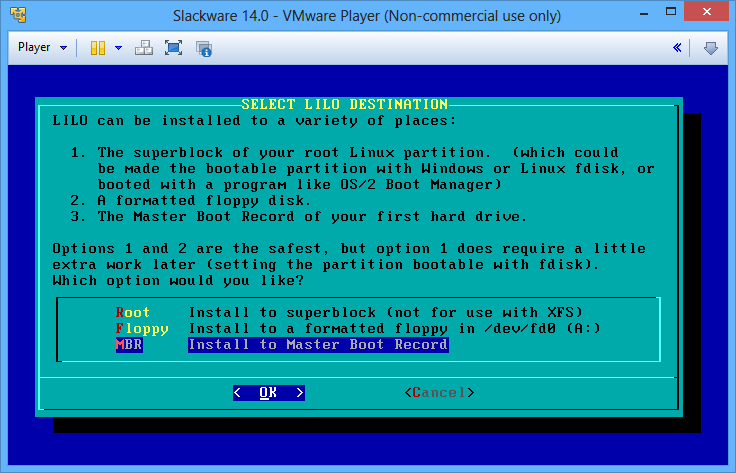
To complete the boot loader set up, select the destination for LILO. The boot loader is most commonly installed to the MBR (Master Boot Record) of the hard drive, in a special area before the main partitions begin. It isn’t often necessary to move the location to /boot unless you intend on having a separate /boot partition in order to encrypt, though that is beyond the scope of this installation guide.
The safe option at this point is to highlight MBR and press enter.
Step 14
This step is to create the correct configuration link for your mouse.
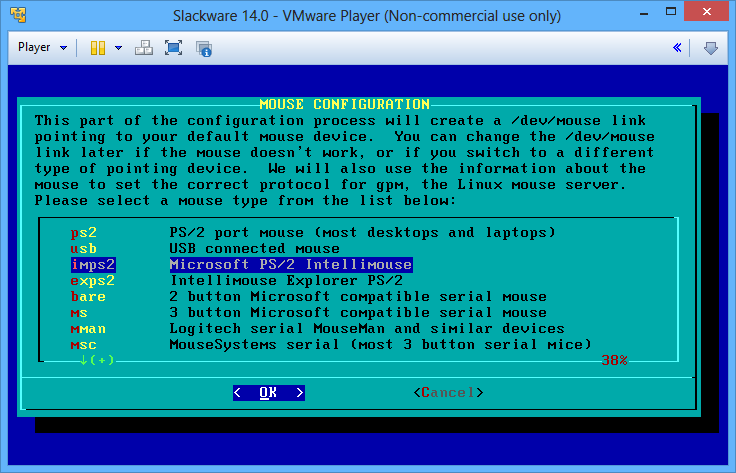
Highlight the most appropriate option from the list and press enter to proceed. For most users this will be the USB connected mouse. The installer will then ask you if you want to be able to use the mouse functions on a virtual console, to copy and paste text, for example.

Highlight yes and press enter to proceed to network configuration.
Step 15
You will now be asked if you would like to configure the network, as below:
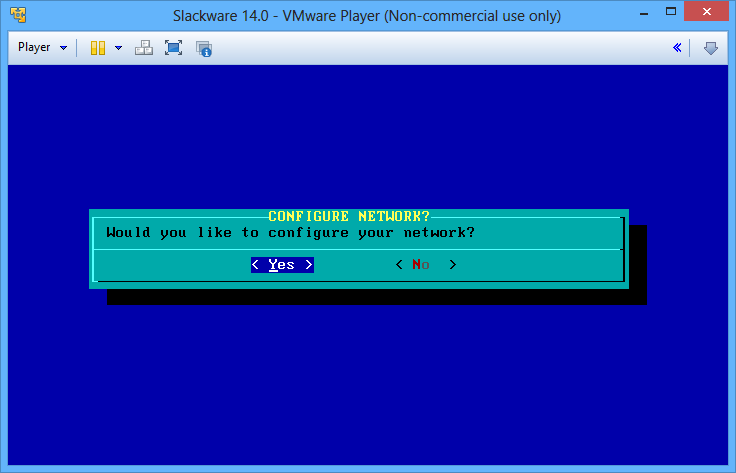
Highlight yes and press enter to begin setting your network up.
First, you’ll be asked to enter a hostname, as shown below:
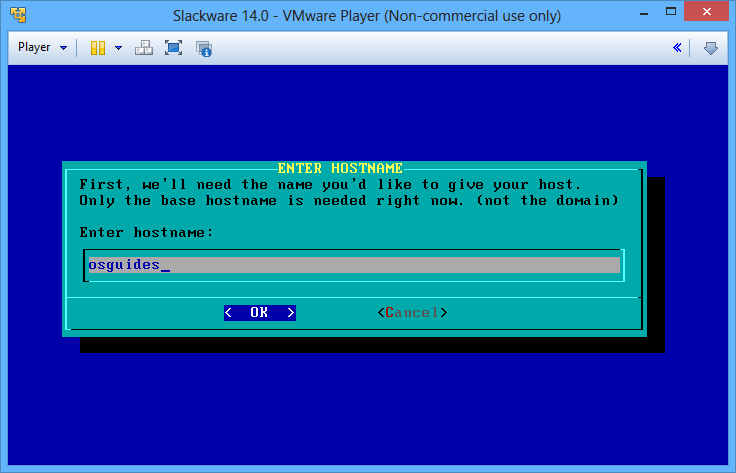
The hostname is the name used by the computer to help identify itself on the network. In the example above I have named the computer osguides. Choose a suitable name and press enter to proceed.
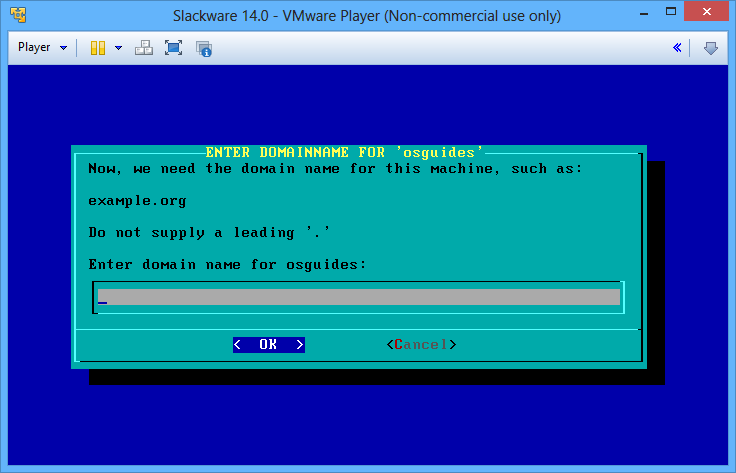
The domain name isn’t necessary for those using Slackware on home computers. For those of you using their computer in a commercial environment should ask your IT department for the correct network settings.
To proceed, press the spacebar and then press enter to move to the next step.
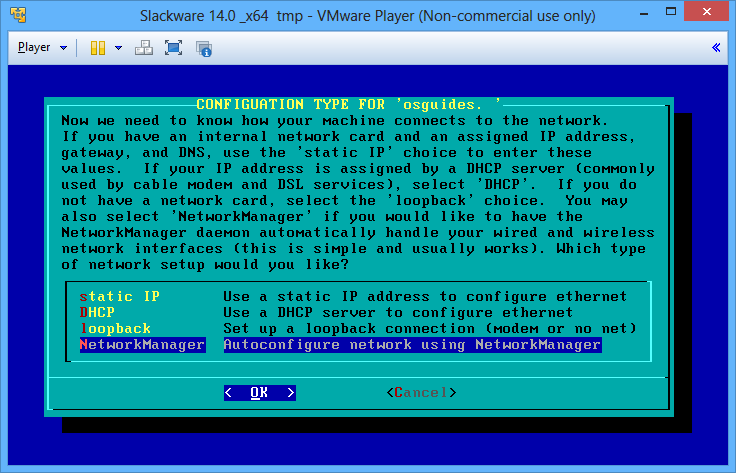
The most suitable network configuration for most users will be the NetworkManager, which automatically configures network connections. Highlight that and press enter to proceed.
Info: DHCP is also an option if your computer tends to use a single wired connection. If you frequently change networks (especially wireless), NetworkManager is probably more suitable.
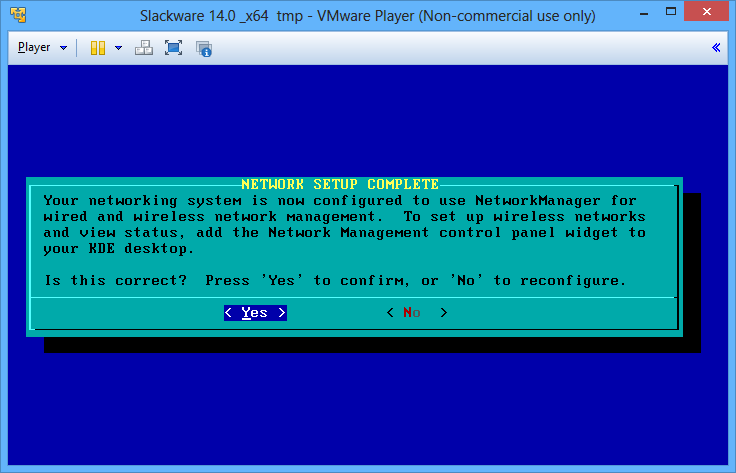
To finish the network setup highlight yes and press enter.
Step 16
You will now be asked to confirm which startup services you wish to run when the computer boots:

The default selection is usually more than suitable, but SSHD can be deselected if you don’t intend on using SSH to access the computer in the future. Highlight and select the services you wish to run during startup and then press enter to move to the next step.
Step 17
Would you like to try some screen fonts?
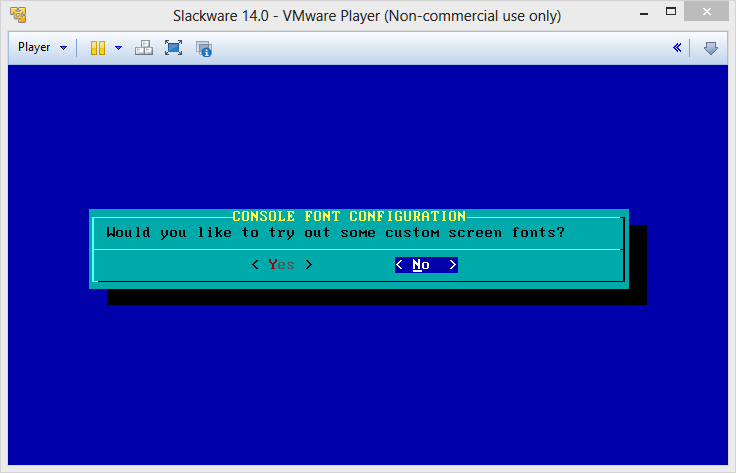
Highlight no and press enter to proceed further.
Step 18
The installer will now ask you to confirm whether the computer’s hardware clock is set to UTC or not:
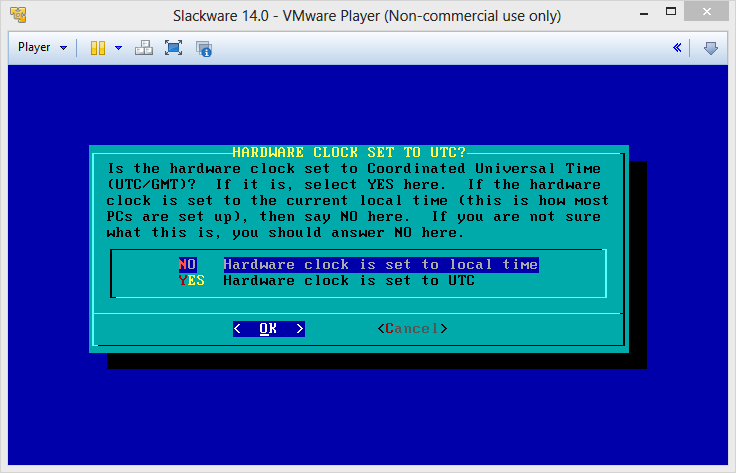
Most computers are set up with the hardware clock set to local time. No is also the safe option here and should be chosen unless you know for certain that the hardware clock is set to UTC. Highlight no and press enter to select your timezone, as below:
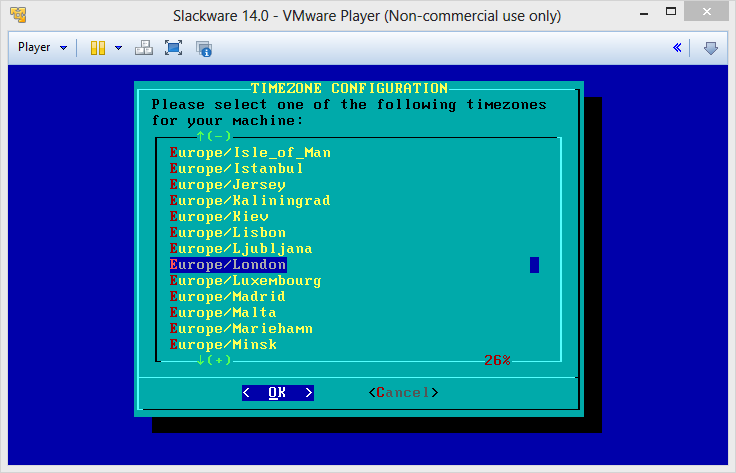
Select your timezone from the list. You can speed up the search by pressing the letter corresponding to your home continent: e.g. pressing e would jump down the list to EET and I can use the pagedown key to move through the list faster until I reach Europe/London.
Highlight your local timezone and press enter to move to the next step of the Slackware 14 installation.
Step 19
The next step is to choose the default graphical user interface to run when you boot Slackware.
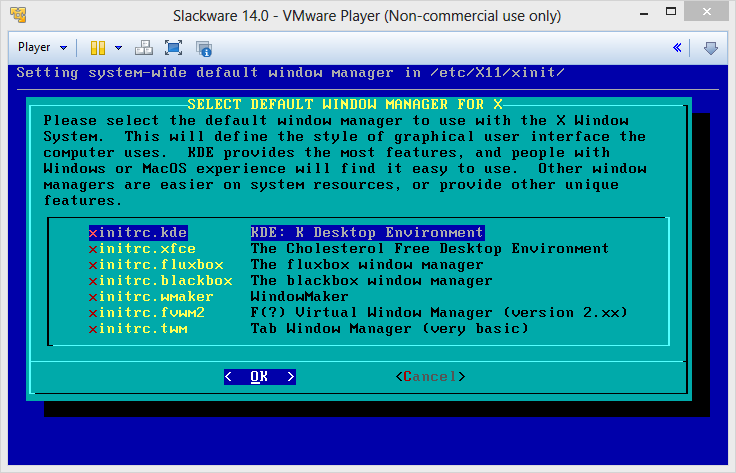
KDE is the default desktop environment and according to Slackware, provides the most feature-rich experience. Confirm KDE is highlighted and press enter to proceed.
info: it should be noted that KDE is the most resource-hungry desktop environment in the list above. XFCE is a good compromise between keeping the resource footprint low and providing a feature-rich user interface and as such, is highly recommended for computers with CPU and RAM constraints.
Step 20
In order to use the new operating system a password for the root user is required:
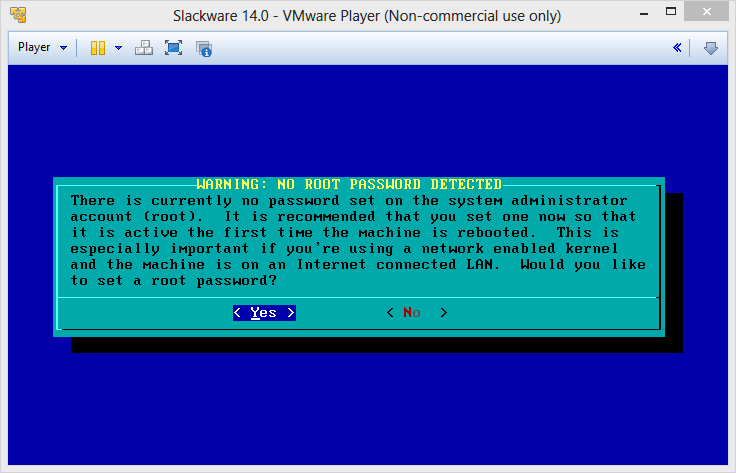
Ensure yes is highlighted and press enter to start the password script. You will then be prompted to enter your password. Type it and then press enter. You will then be asked to repeat it again to confirm the password is correct.
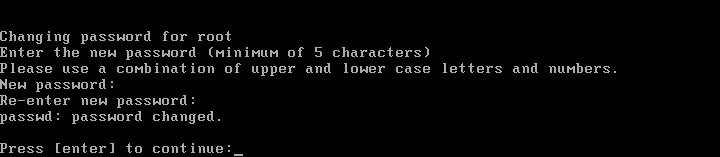
Once notified of the password change press enter to continue to the final step:
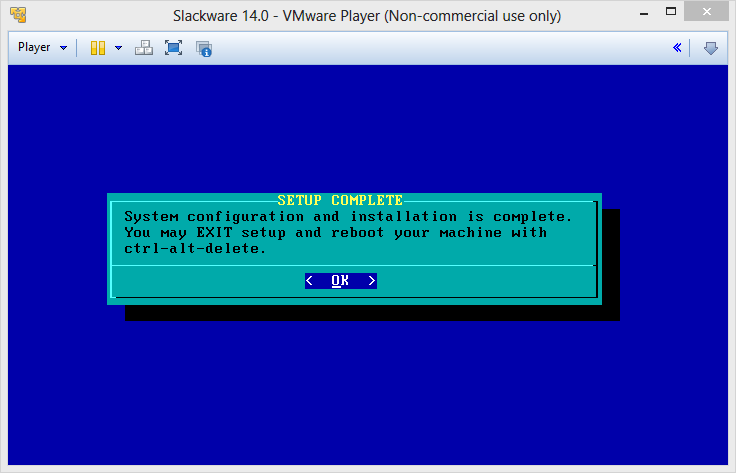
All that remains now is to press enter to finish the setup, then choose exit in the next window to end the Slackware 14 installation process.

Remove your installation disc and press CTRL + ALT + DEL to restart your computer. The operating system will then reboot and you’ll be greeted by your new boot loader menu, as below:
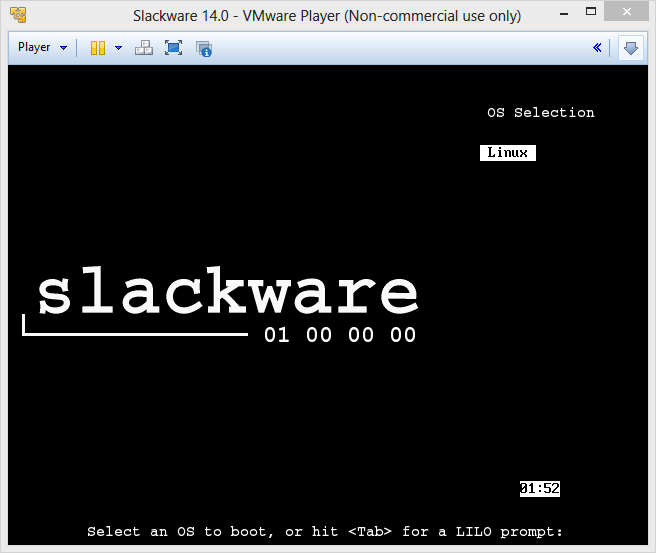
The bootloader screen may appear different for those that have set different bootloader settings. Press enter or wait for the timer to finish its countdown and Slackware will load for the first time.
Step 21
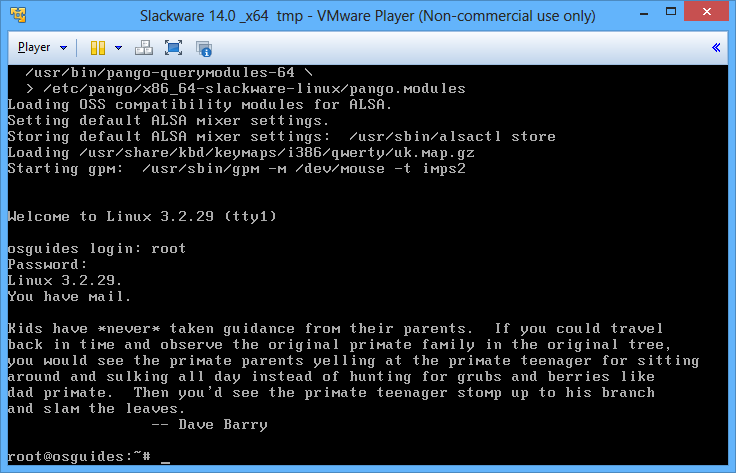
Slackware will load up and you will need to log in as root from the prompt before you can proceed further.
Login by typing root and pressing enter. Slackware will ask you to enter the password for root and then log in, similar to below.
Step 22
Now we will create a new username for everyday usage. To add a new user complete the following:
- Type adduser username (e.g. adduser osguides) and press enter
- User ID: Press enter to user next available ID
- Press up arrow as detailed to add the new user to additional user groups and press enter
- Home directory: By default a users home is named as their username. Press enter to leave as the default setting
- Shell: Press enter here also
- Expiry date: Add an expiry date if required. If not just press enter
- Press enter to confirm user account summary is correct
- Type the users full name and press enter
- Details for the users room number, work and home phone and other numbers can also be added. To skip each step press enter
- Enter the password for new user and press enter
- Verify the password for new user and press enter to complete user account setup.
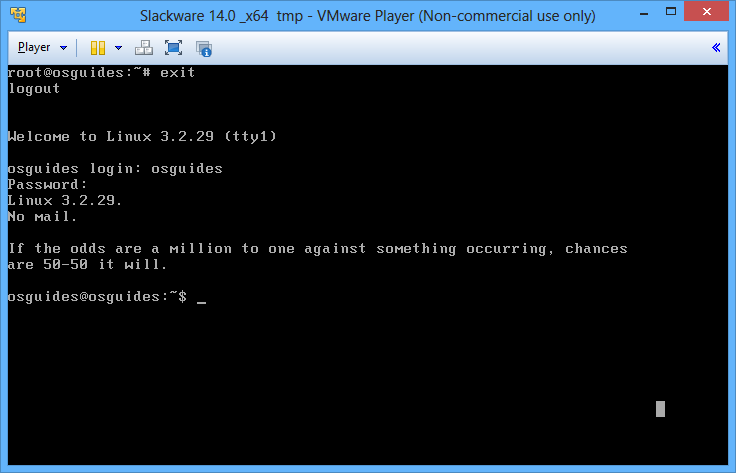
Log out as root by typing exit and pressing enter.
Step 23
Now you can login using your new user account. Type your username and enter your user password when prompted to login.
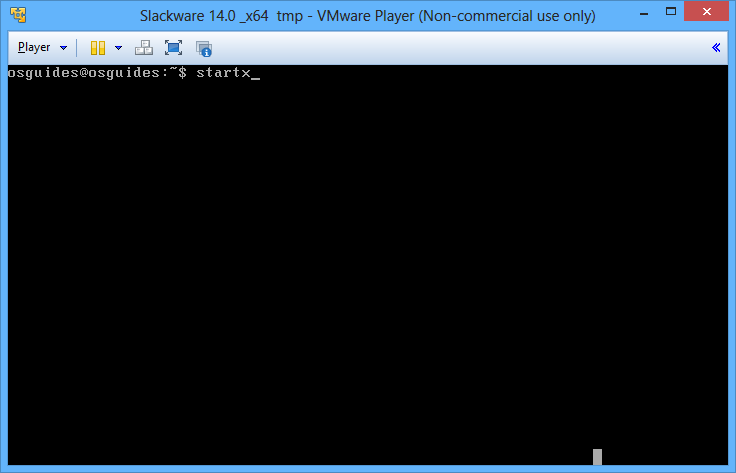
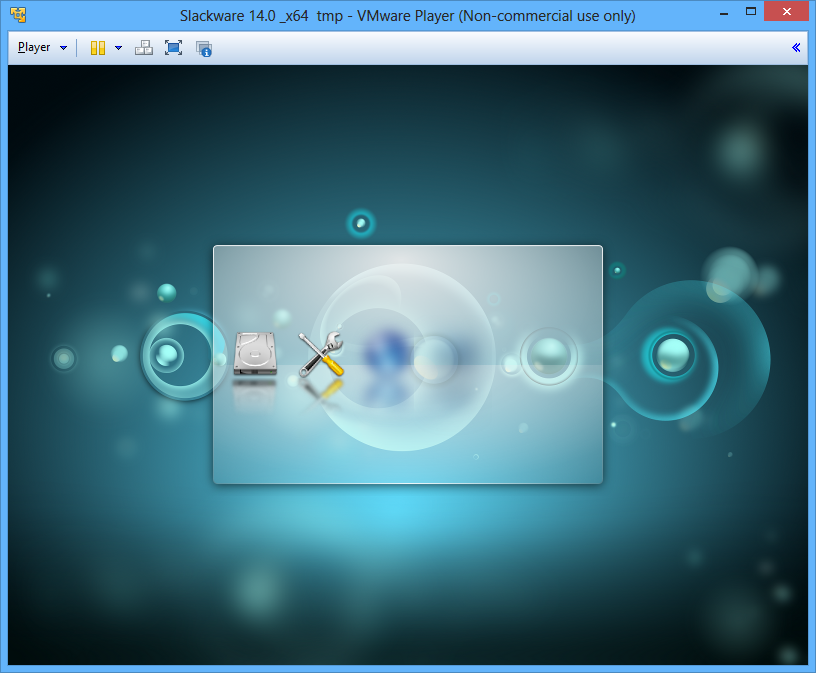
Type startx and press enter to launch the KDE desktop environment. The first time it launches it will be slower as it saves configuration files as it starts for the first time. KDE will display the load progress using the bar below:
Once fully loaded you should see something like this:
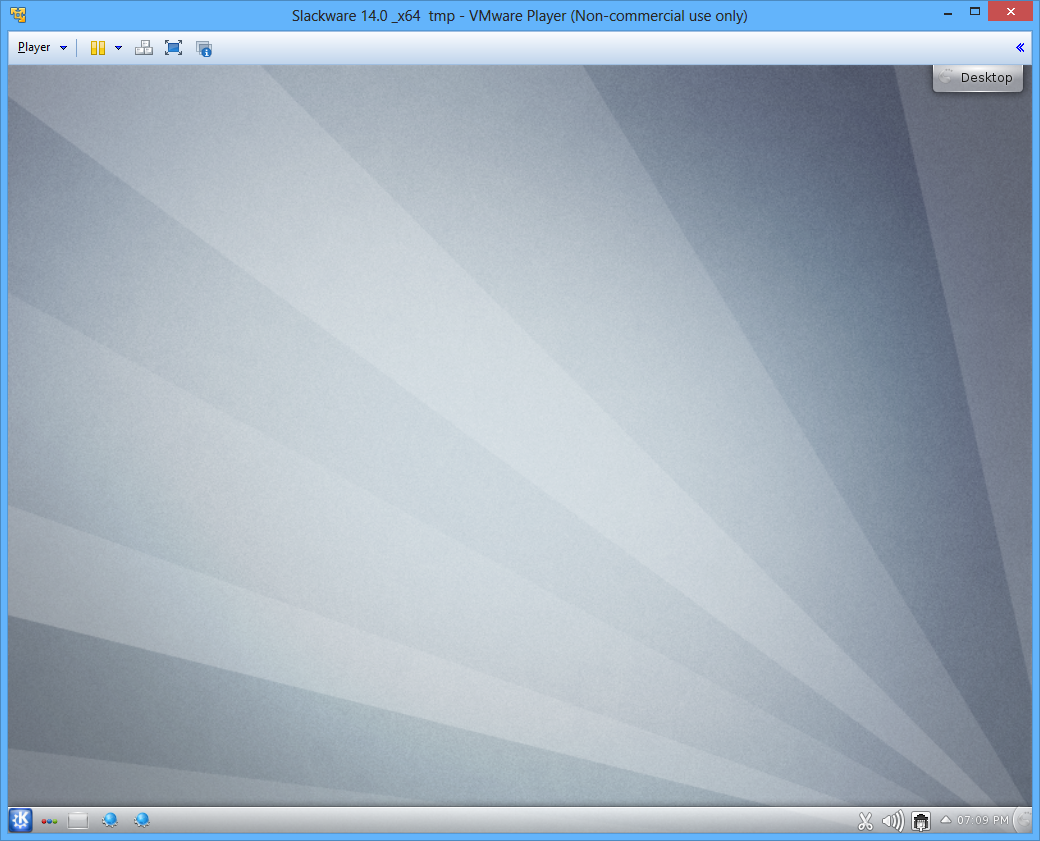
Now you can enjoy your new OS and begin exploring its features.
Feedback and comments are welcome. If you feel something is missing or you would like to see something in particular covered in future tutorials let us know in the comments section, or contact me directly.