Tutorial: Ubuntu 20.04 LTS Desktop Linux Installation
In this tutorial, we cover the step-by-step installation of the freshly released long-term support desktop edition of Ubuntu 20.04 Linux.
The installation of other ‘buntu versions will be very similar. We will try to explain certain options and provide helpful hints along the way, so rather than just following the tutorial, you can understand the reasoning behind the decisions.
Every attempt has been made to ensure this guide is as accurate as possible, but please contact me to let me know if you find any errors. Please have a read of our disclaimer before proceeding any further.
Step 1:
The first thing you should do is head to the Ubuntu website and download the Ubuntu 20.04 LTS Desktop image by clicking on the green download box.
Step 2:
Using your disc burning software, burn the .iso you downloaded to a DVD.
Step 3:
Before you go any further, ensure all important data is backed up in case of data loss on your drives. This guide assumes you have media backups of your hard drives and you are safe to proceed.
Warning: Installing another operating system without first ensuring you have backups of your current files and operating system is a big risk. If you have no data to lose or you’ve backed up important data, you’re ready to proceed. YOU are responsible if you lose data.
For those of you using Windows and installing Linux for the first time I recommend you either use a separate hard disk not used with Windows or create a partition big enough for Linux within Windows, by using the Disk Management utility in the Administrative Tools menu of the control panel. 20GB of hard disk space is plenty of space for you to begin exploring Ubuntu Linux whilst at the same time having room to grow.
Step 4:
Ensure you have a network cable connected, restart your computer, and boot from the DVD drive.
At the first prompt, choose the first option, Ubuntu.
Step 5:
The Live Desktop will load up, and you’ll be presented with the following screen.

In this tutorial, we will assume you’ve already tried Ubuntu and want to proceed with an installation, so go ahead and click “Install Ubuntu.”
Step 6:
At the next screen, we need to select the correct layout for your keyboard.
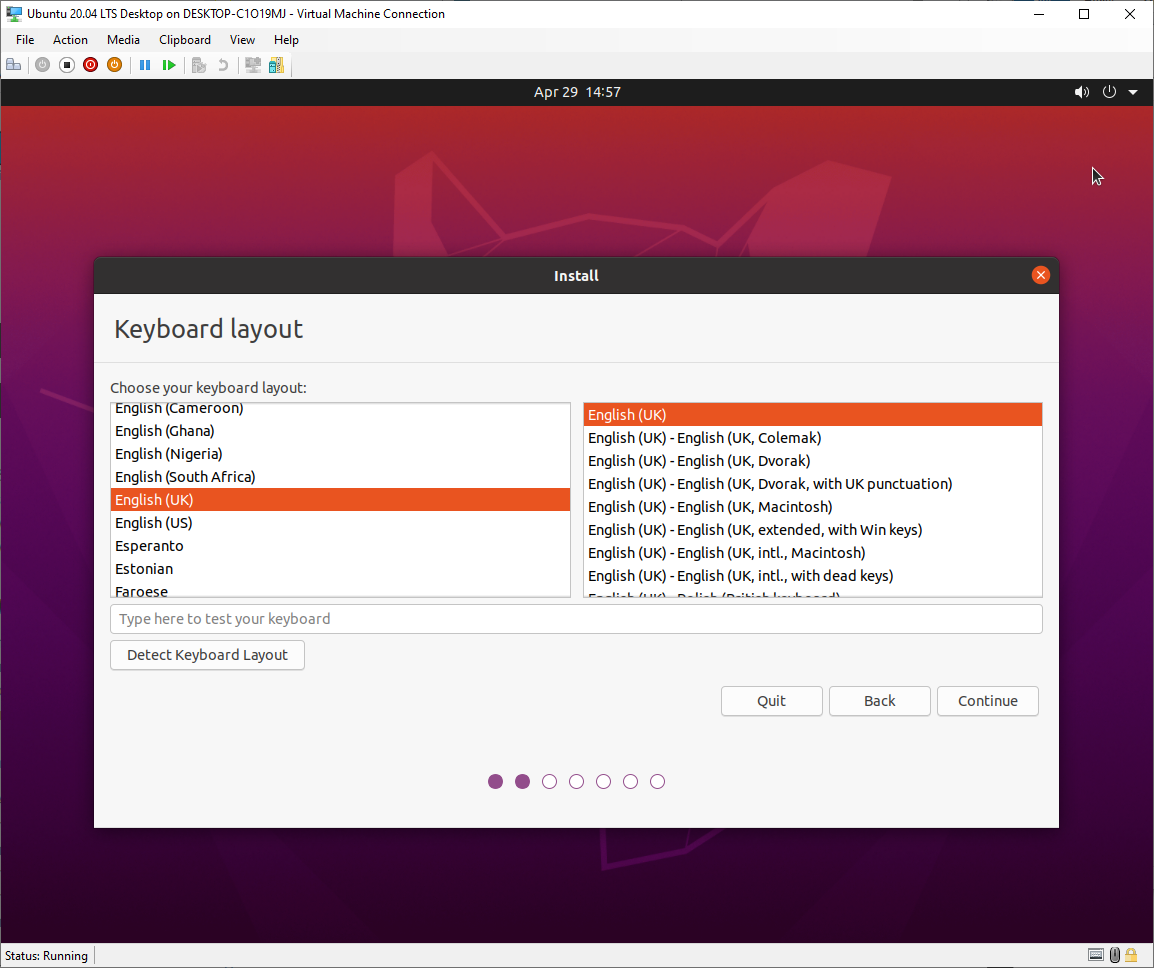
In most instances, the correct option will already be highlighted. Confirm the selection and click continue to proceed to the next step.
Step 7:
At the next prompt, we need to choose the options for updates and other software.

I recommend you select the option to install third-party software as this will ensure relevant graphics and Wi-Fi drivers are installed during the installation of Ubuntu 20.04. You can also choose to include any updates as part of the installation process.
Select the necessary options and click on continue to proceed to the next step.
Step 8:
At the next screen, we define the installation parameters for the Ubuntu 20.04 installer.
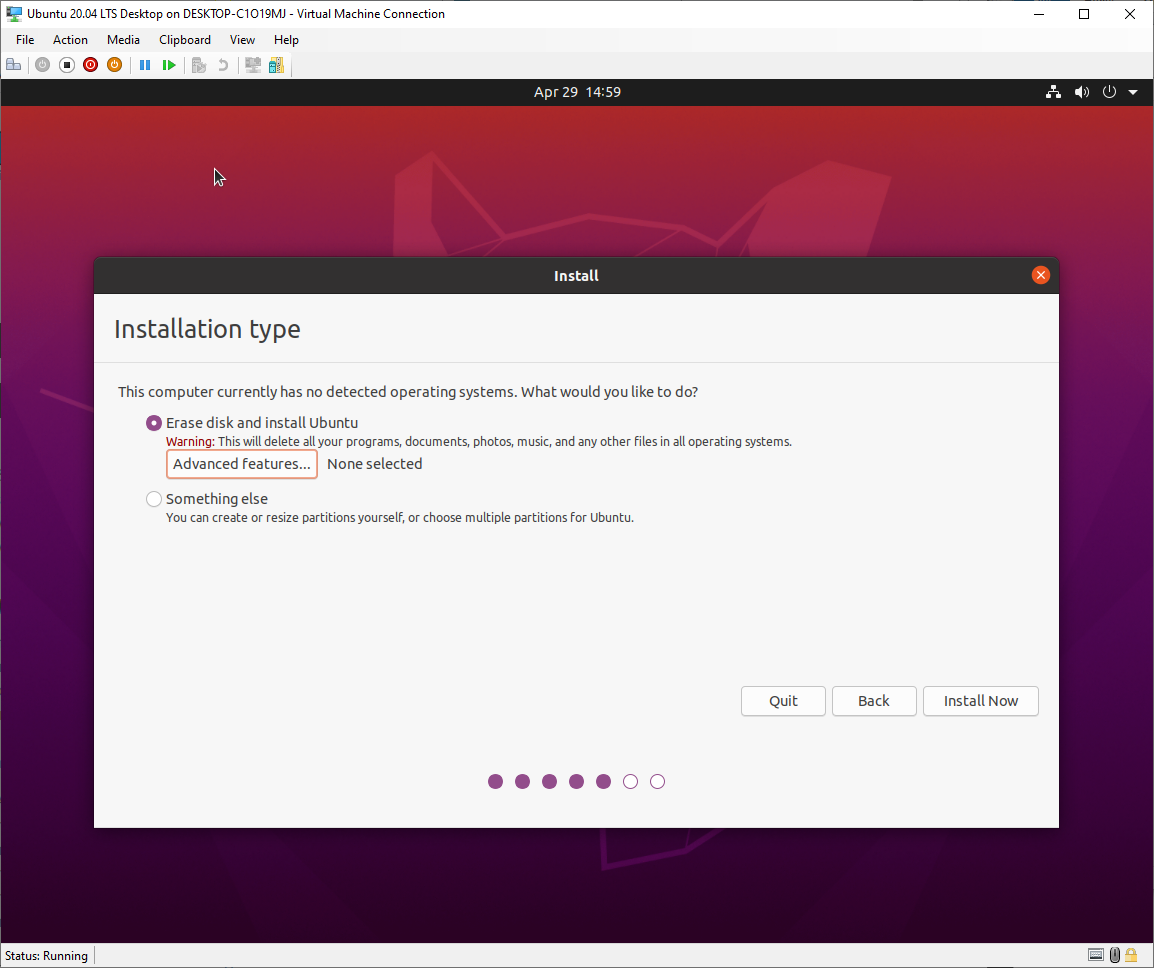
If you intend to install this to a spare hard drive, or are wiping and using the entire disk, you can select the erase and install Ubuntu option.
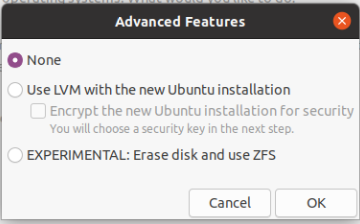
Advanced features enable you to choose Logical Volume Manager (LVM) for partition management and disk encryption.
Once you have selected the relevant options, click install now to proceed. A pop-up window will appear for you to review the changes to your disks.
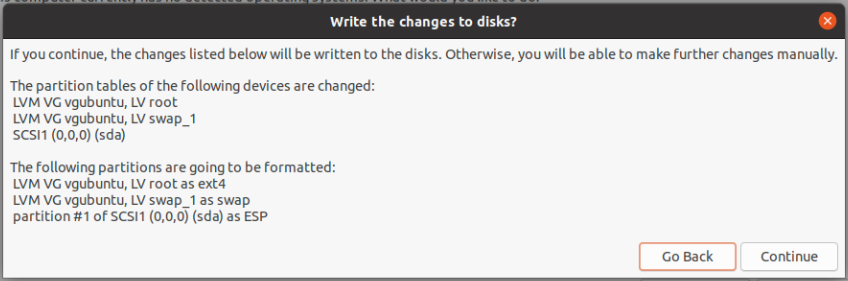
Confirm you are happy with the partition changes displayed, then click continue to proceed to the next step.
Step 9:
The installation of Ubuntu 20.04 LTS will now begin. While that completes in the background, the installer will continue with configuring settings. In this window, we will confirm where we live.
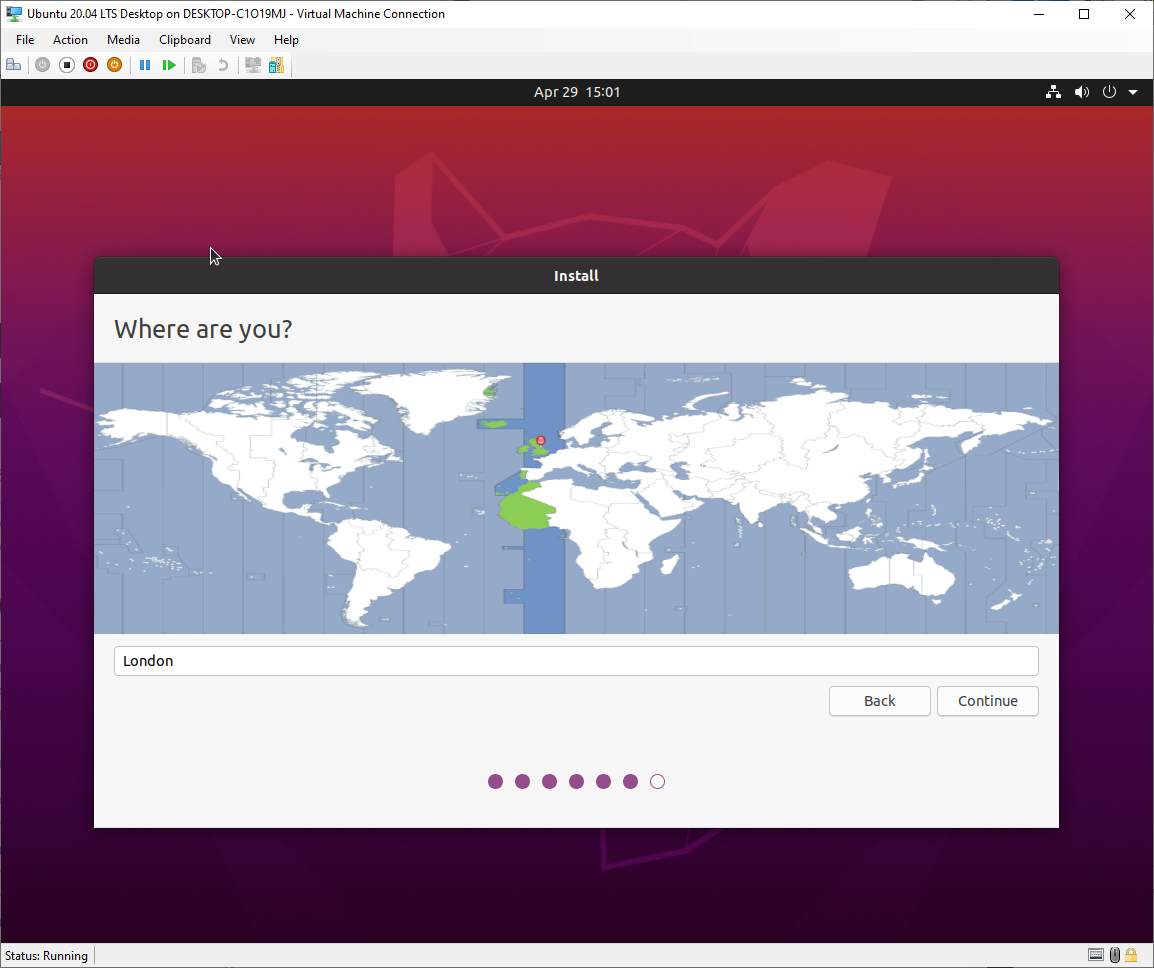
Highlight your location and click continue to proceed.
Step 10:
At the next window, we will confirm our name, hostname and user account settings.
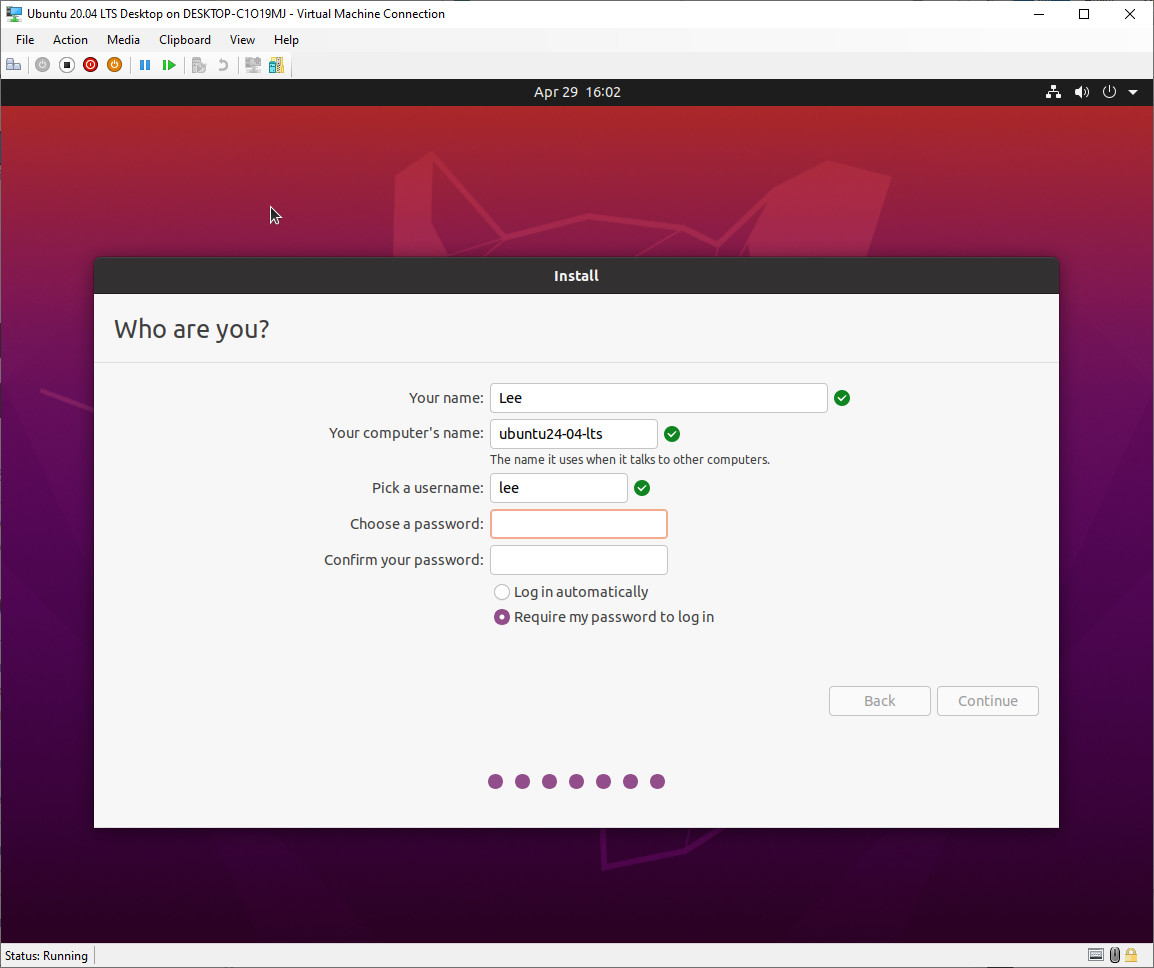
The computers name and username will automatically populate when you type your full name. You can edit either field as you please. Fill in the details and then click continue.
You can opt to have Ubuntu 20.04 automatically log in for you — even with a password set — or you can choose the traditional option requiring a password to log in. You don’t need to choose the encrypt option unless you’re installing on a laptop and/or are dealing with highly secure information.
Step 11:
The installer will now finish off with installing Ubuntu 20.04 LTS.
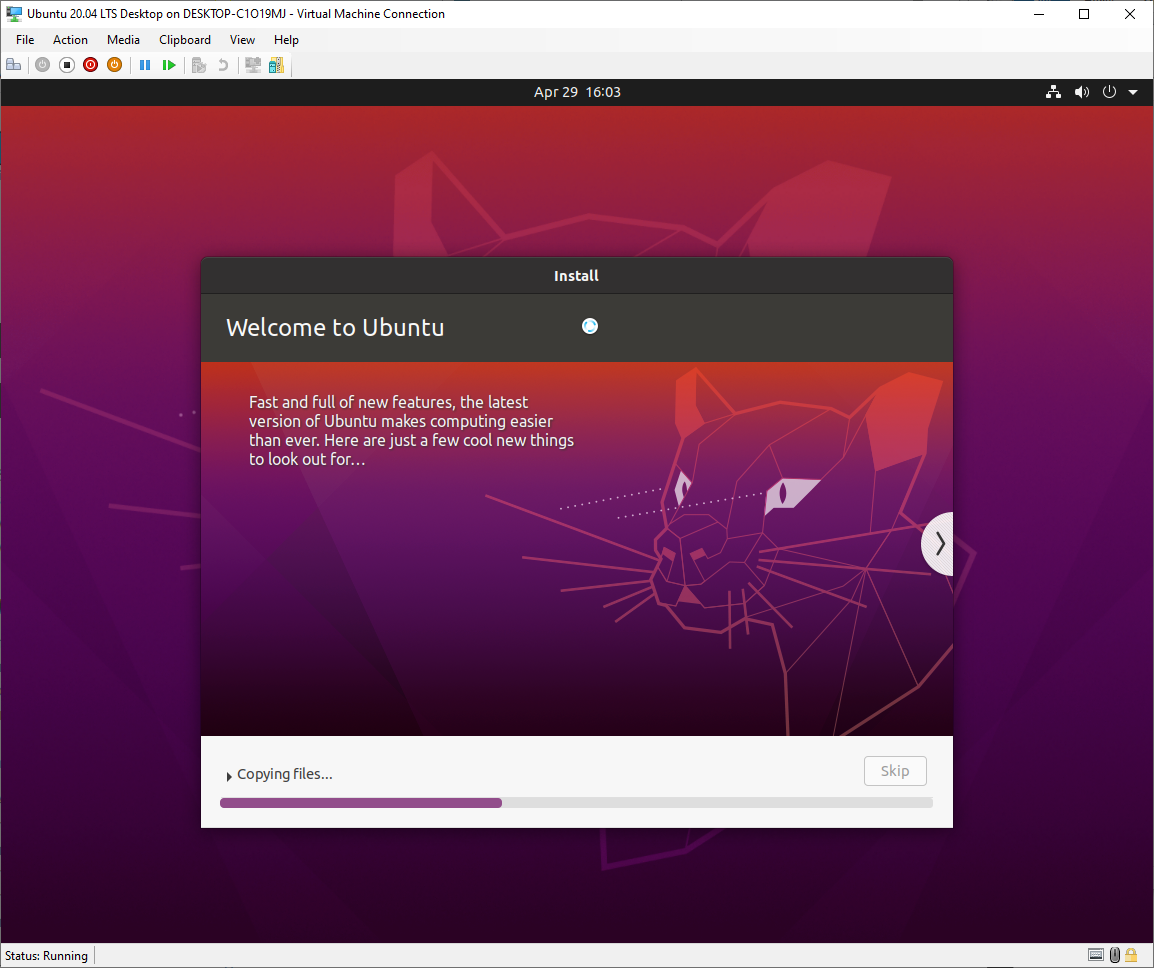
Depending on system performance and whether you have chosen to apply updates during setup, this may take a little while. Now is time to grab a tea or coffee.
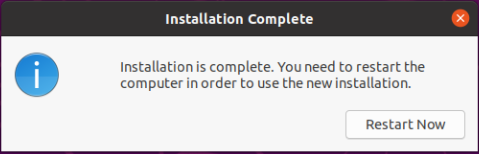
The installation of Ubuntu 20.04 LTS has now completed. Click on restart now to restart your computer.
Step 12:
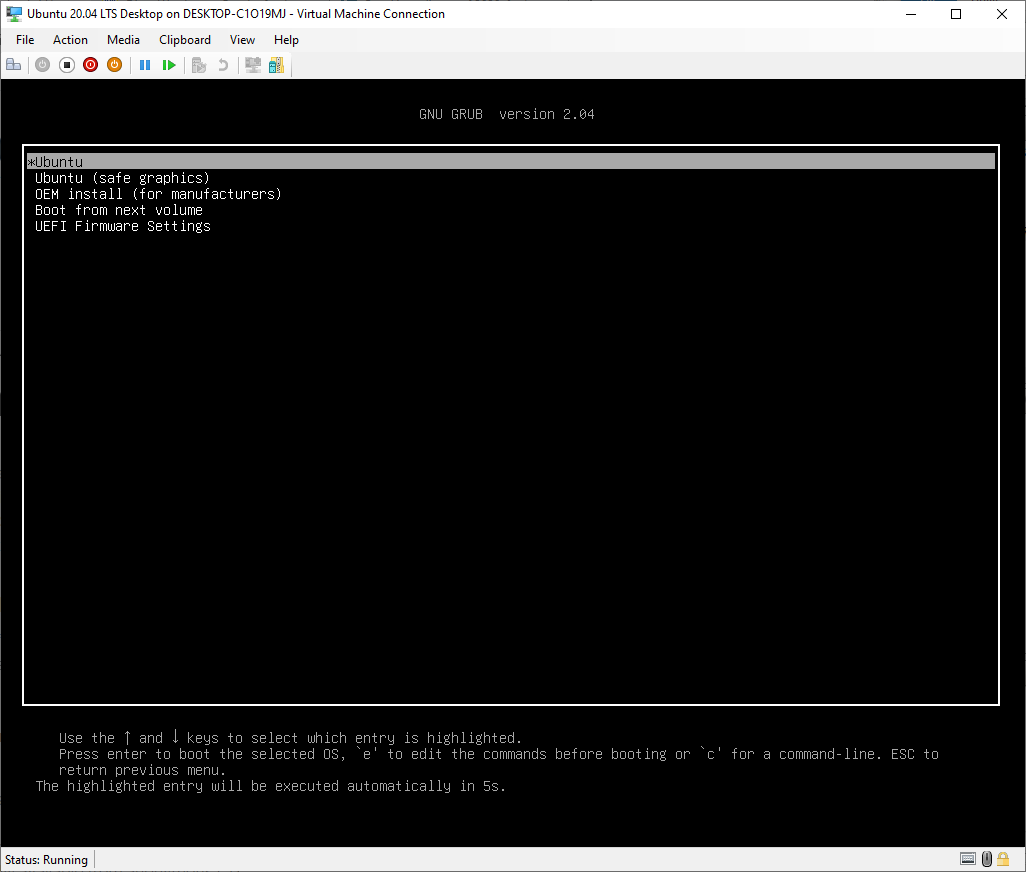
Immediately after your computer completes POST, you will see the following window appear.

For those of you that have Ubuntu as the only OS, the computer will boot directly into Linux. If you’re dual-booting, you will see the GRUB menu appear similar to below (the items listed will likely differ).
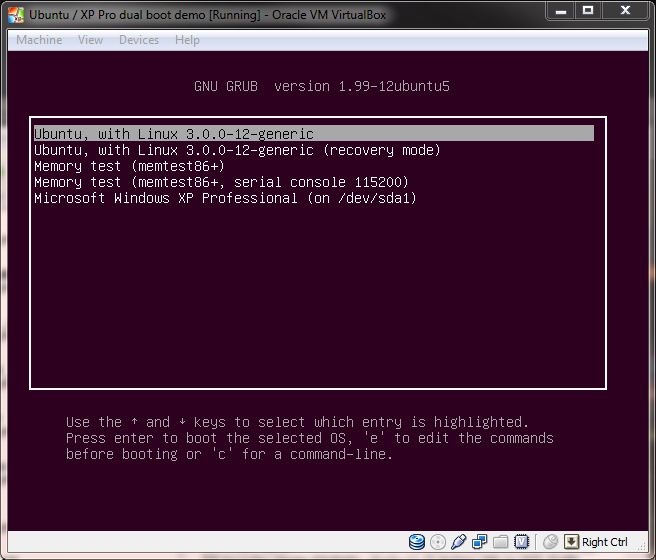
Hit enter, to select the first option to start Ubuntu 20.04.
Step 13:
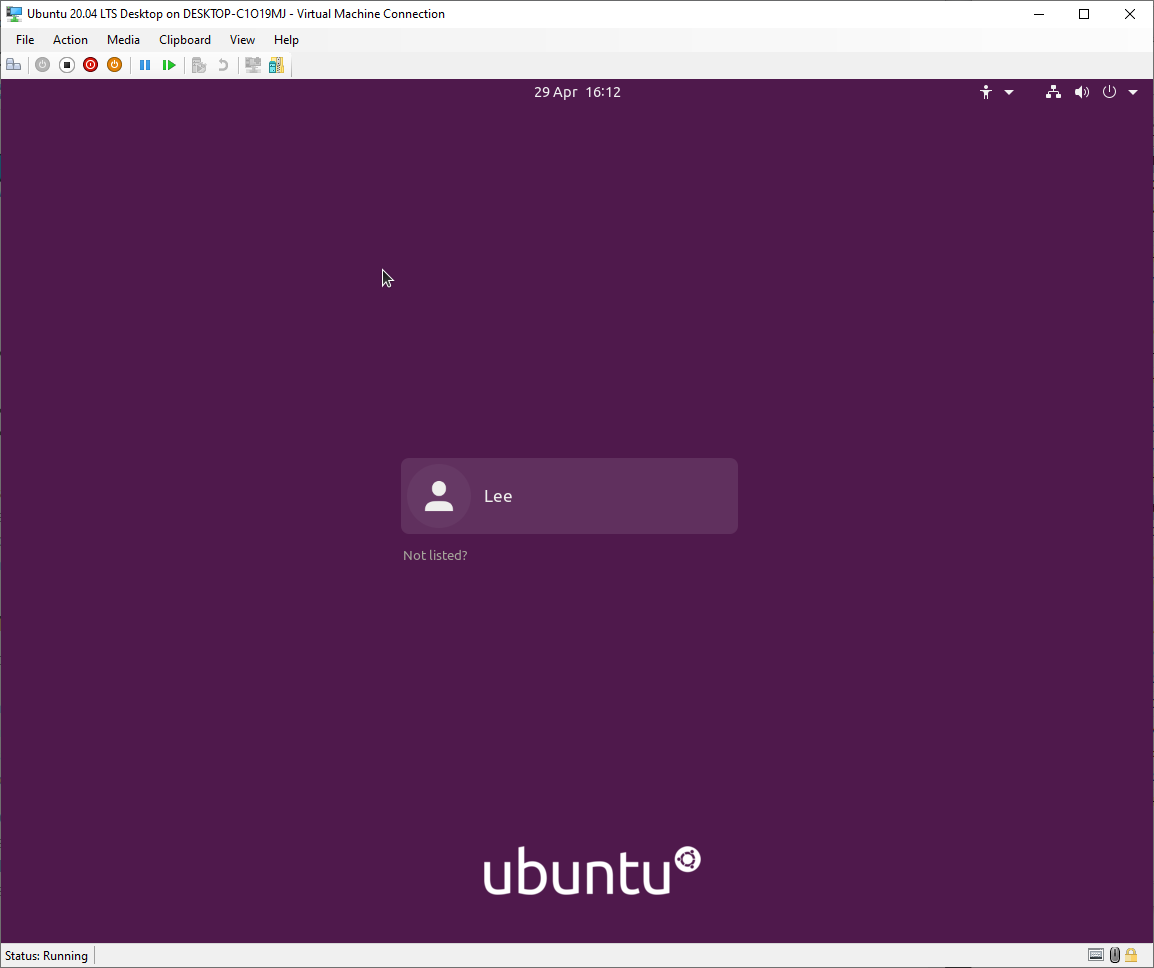
At the login prompt, sign in with your user and password.
Step 14:
The first time you sign in the settings wizard will launch so you can complete the post-install user configuration.
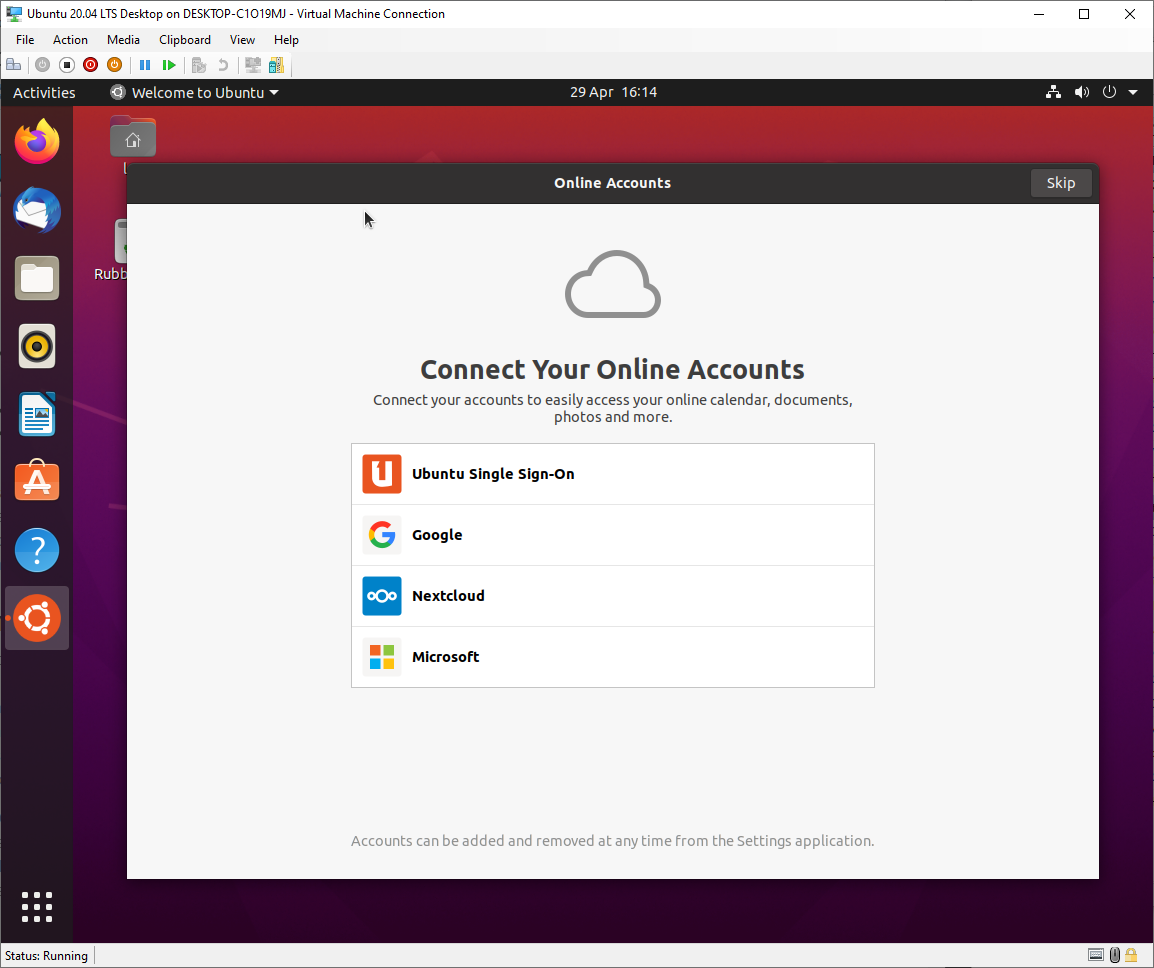
Click on the relevant options to configure your calendar, documents, photos and other settings using the named providers or click skip to proceed to the next window.

Livepatch enables you to apply some updates to your system without having to restart. To setup Livepatch, you will need to sign in with an Ubuntu account or click next to go to the next step.

Choose whether to allow system information to be sent to Ubuntu’s developers, Canonical, or not, then click next to proceed.

Choose whether to allow location services functionality or not, then click next to proceed.
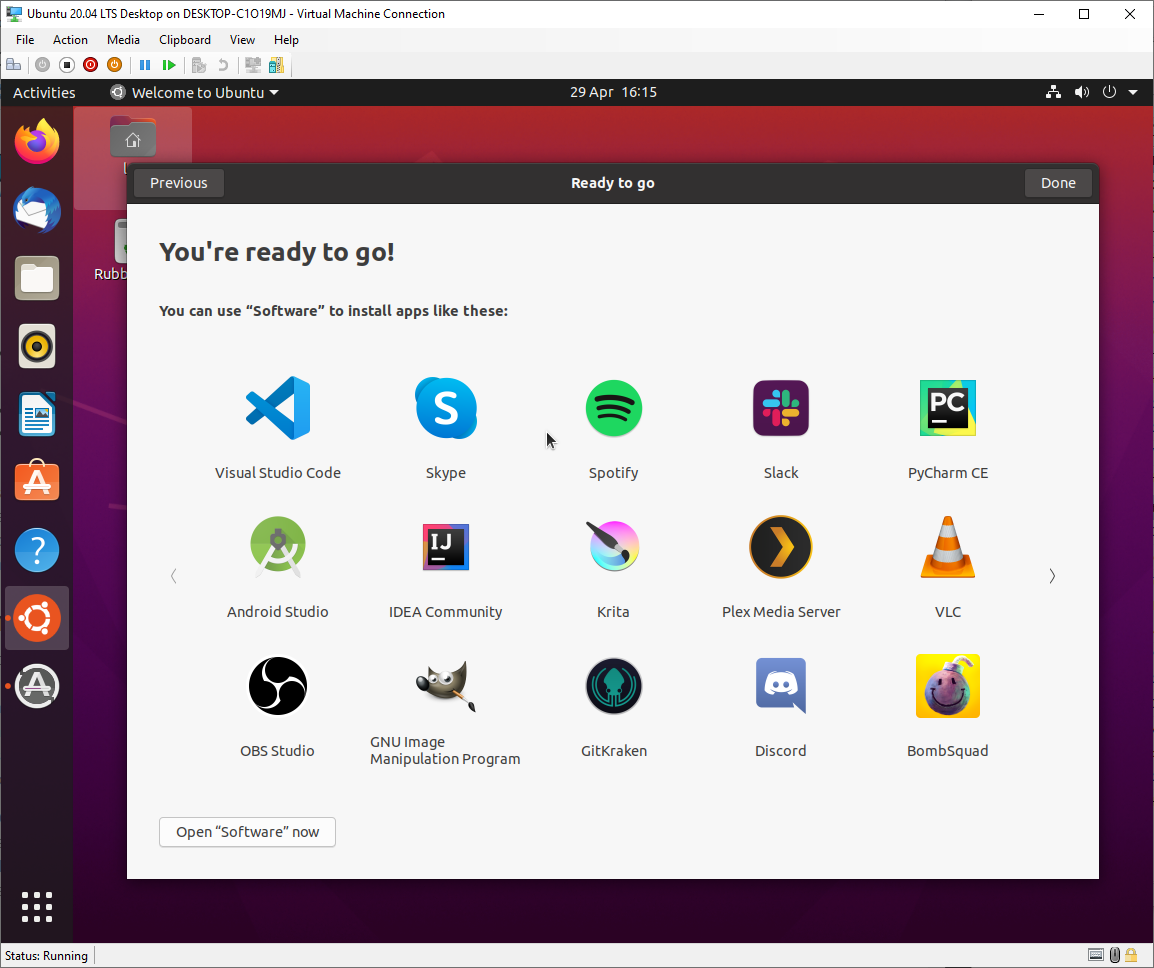
This completes the post-setup wizard and you can now click done to close the window and you can now enjoy Ubuntu 20.04 and begin exploring its features.
Further information about this release of Ubuntu can also be viewed on the release notes page of the Ubuntu Wiki.